


01 Description
02 Specifications
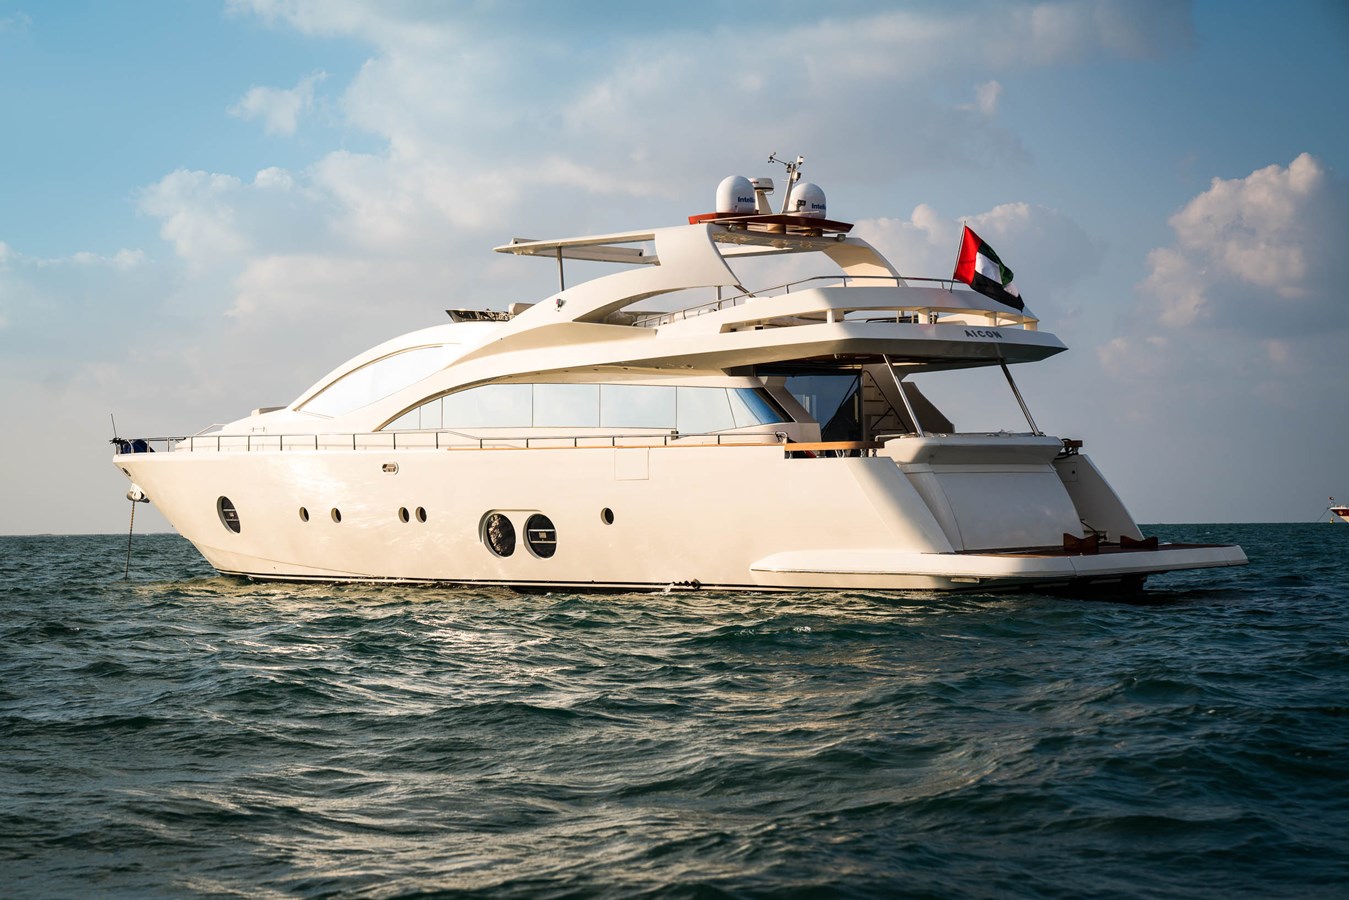
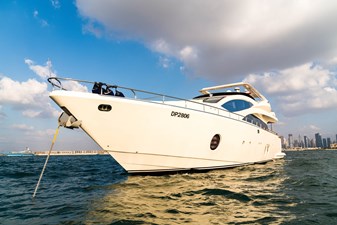
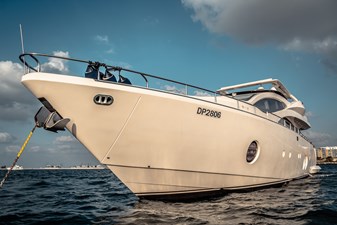
Basic boat information
- Builder AICON YACHTS
- Model Flybridge
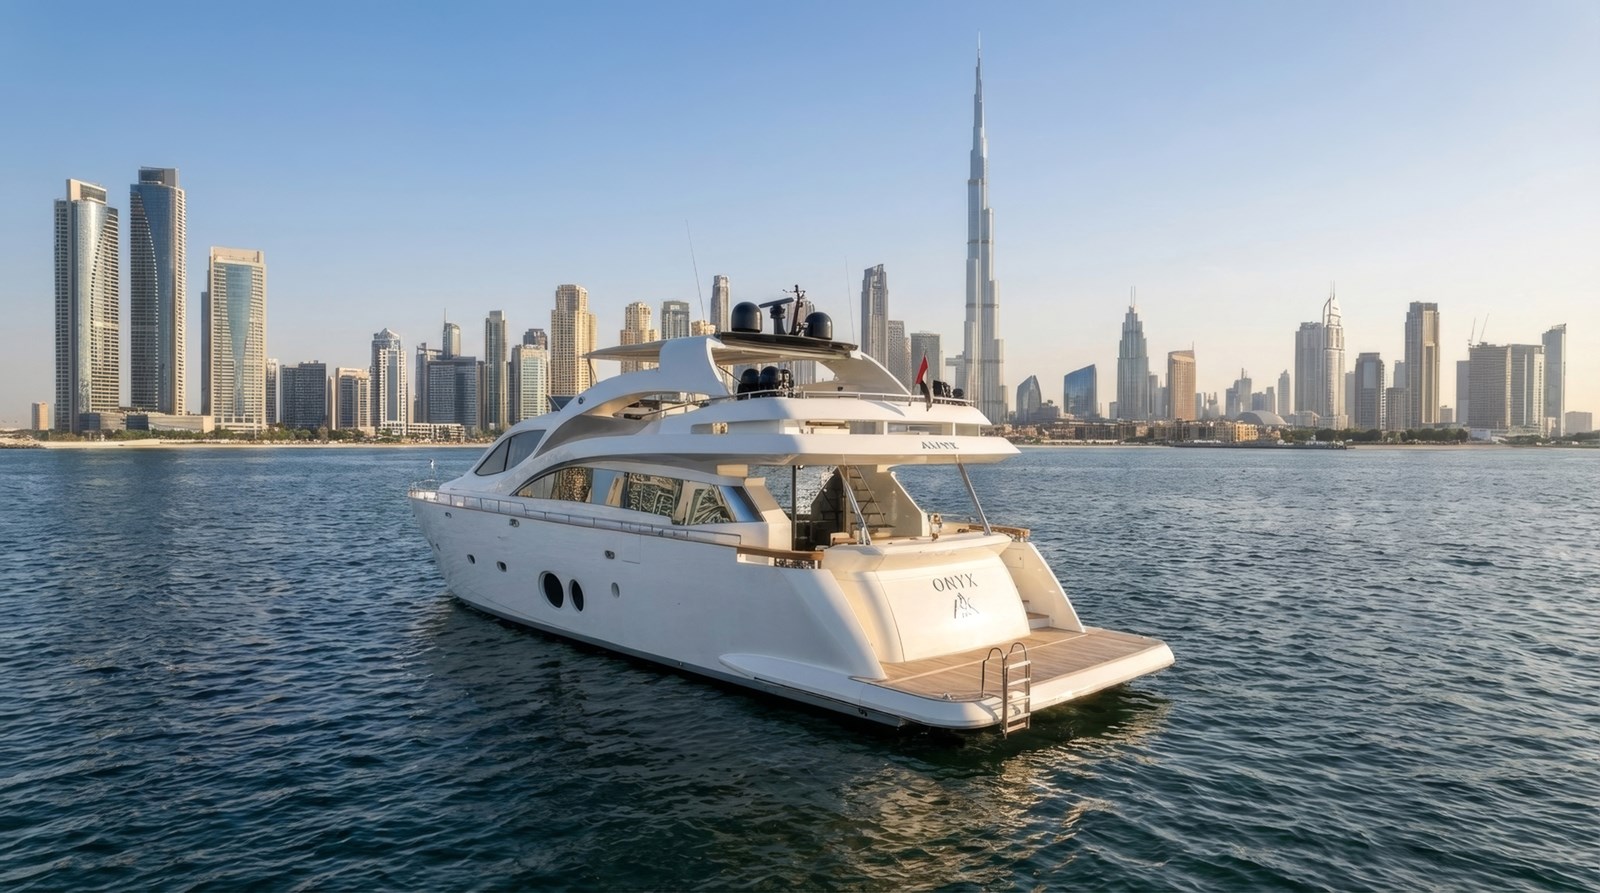
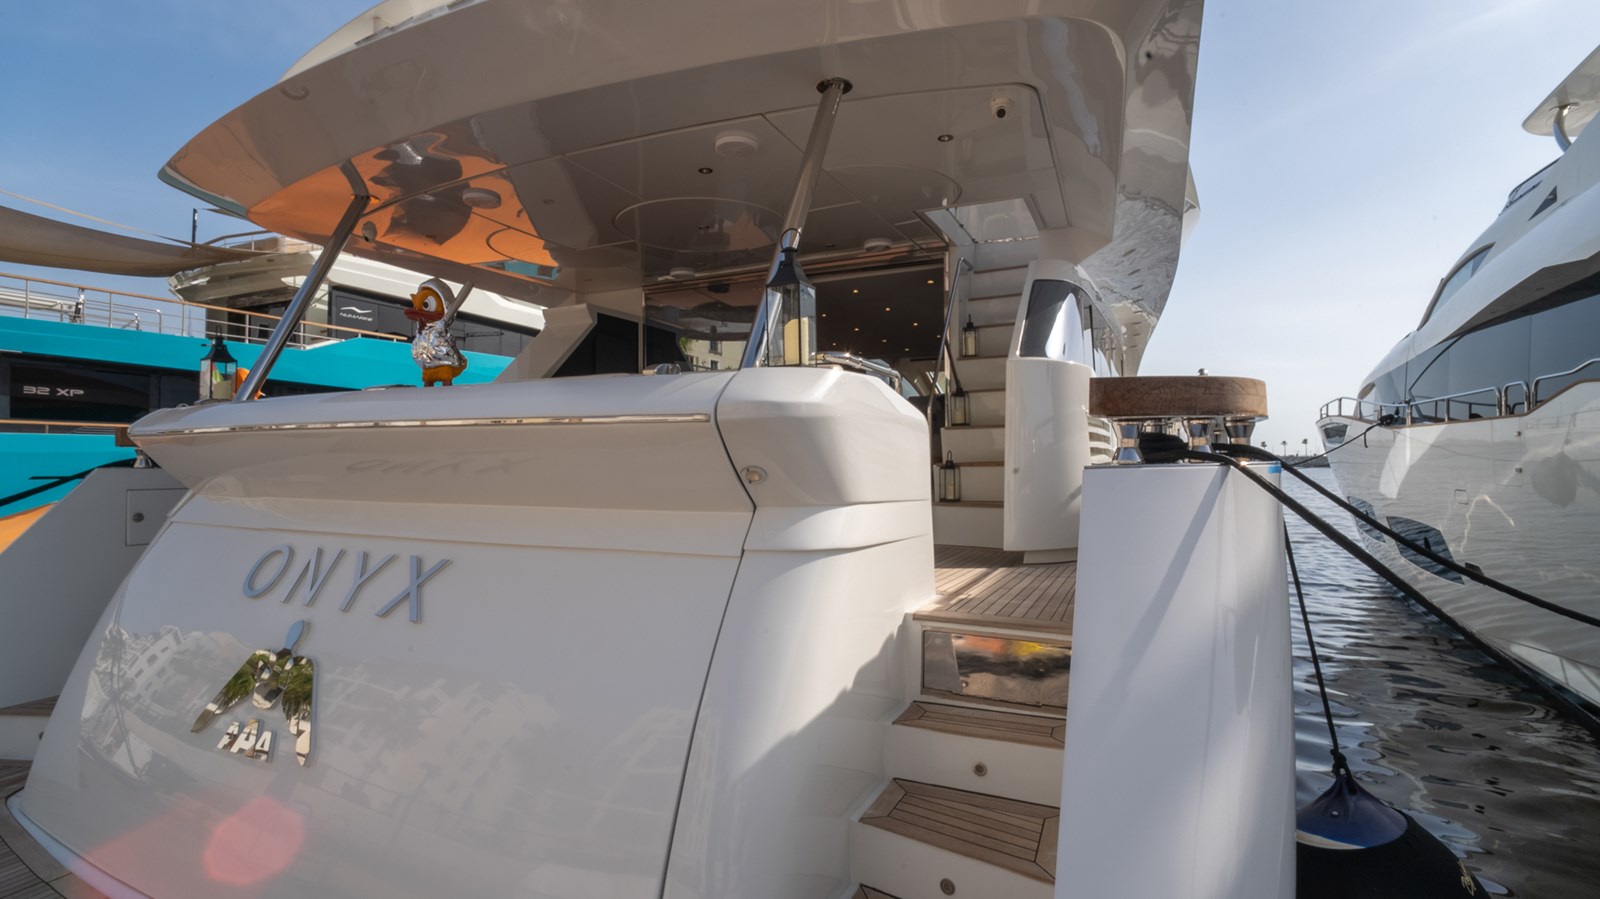
- Boat Name Onyx
- Year 2007
- Condition Used
- Category Motor Yacht
- Construction Fiberglass
Dimensions
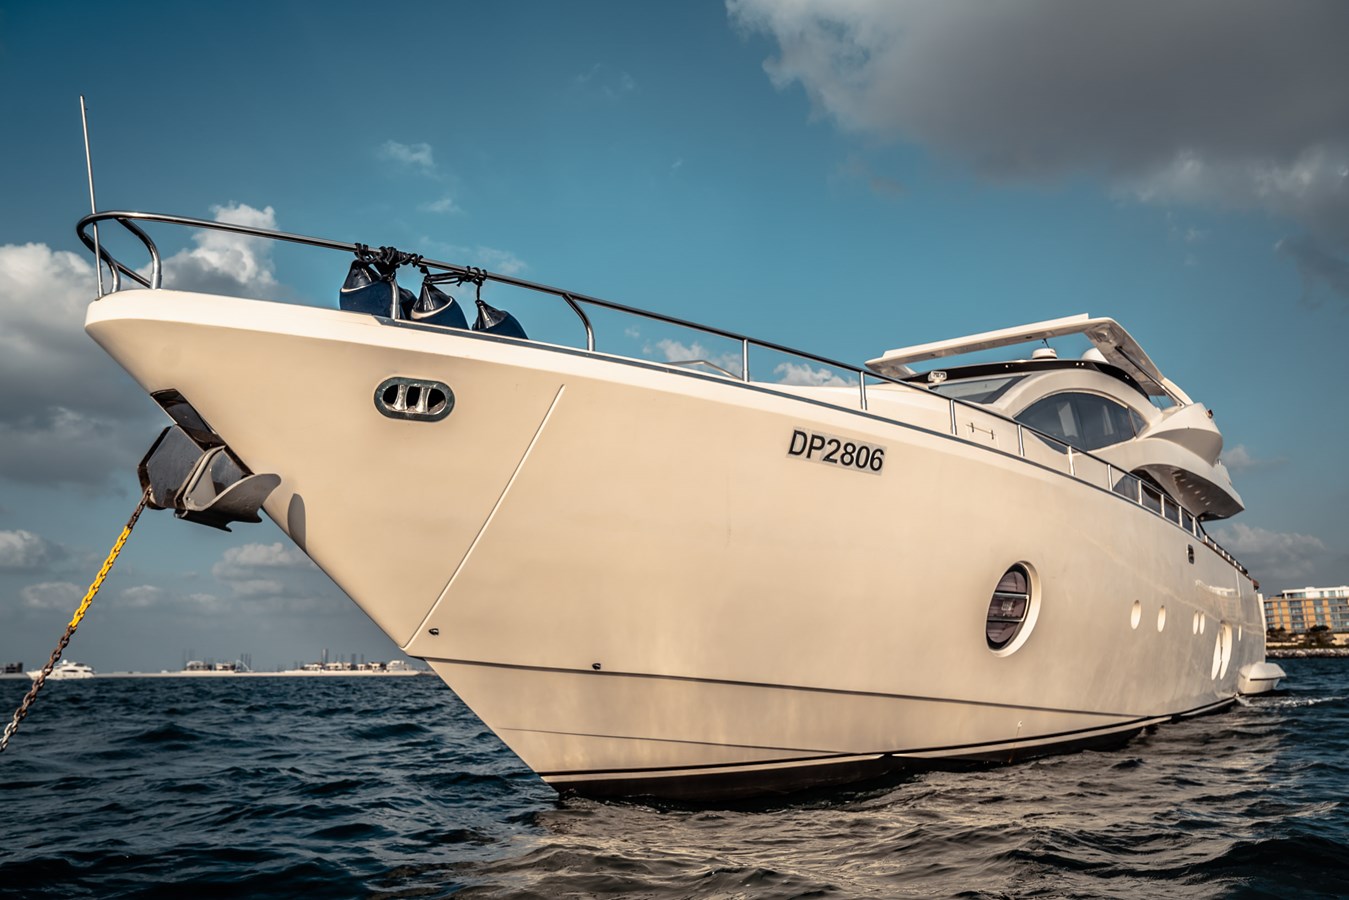
- Overall Length 85'
- Beam 21'
- Min. Draft 2'
- Max. Draft 3'
- Clearance 25'
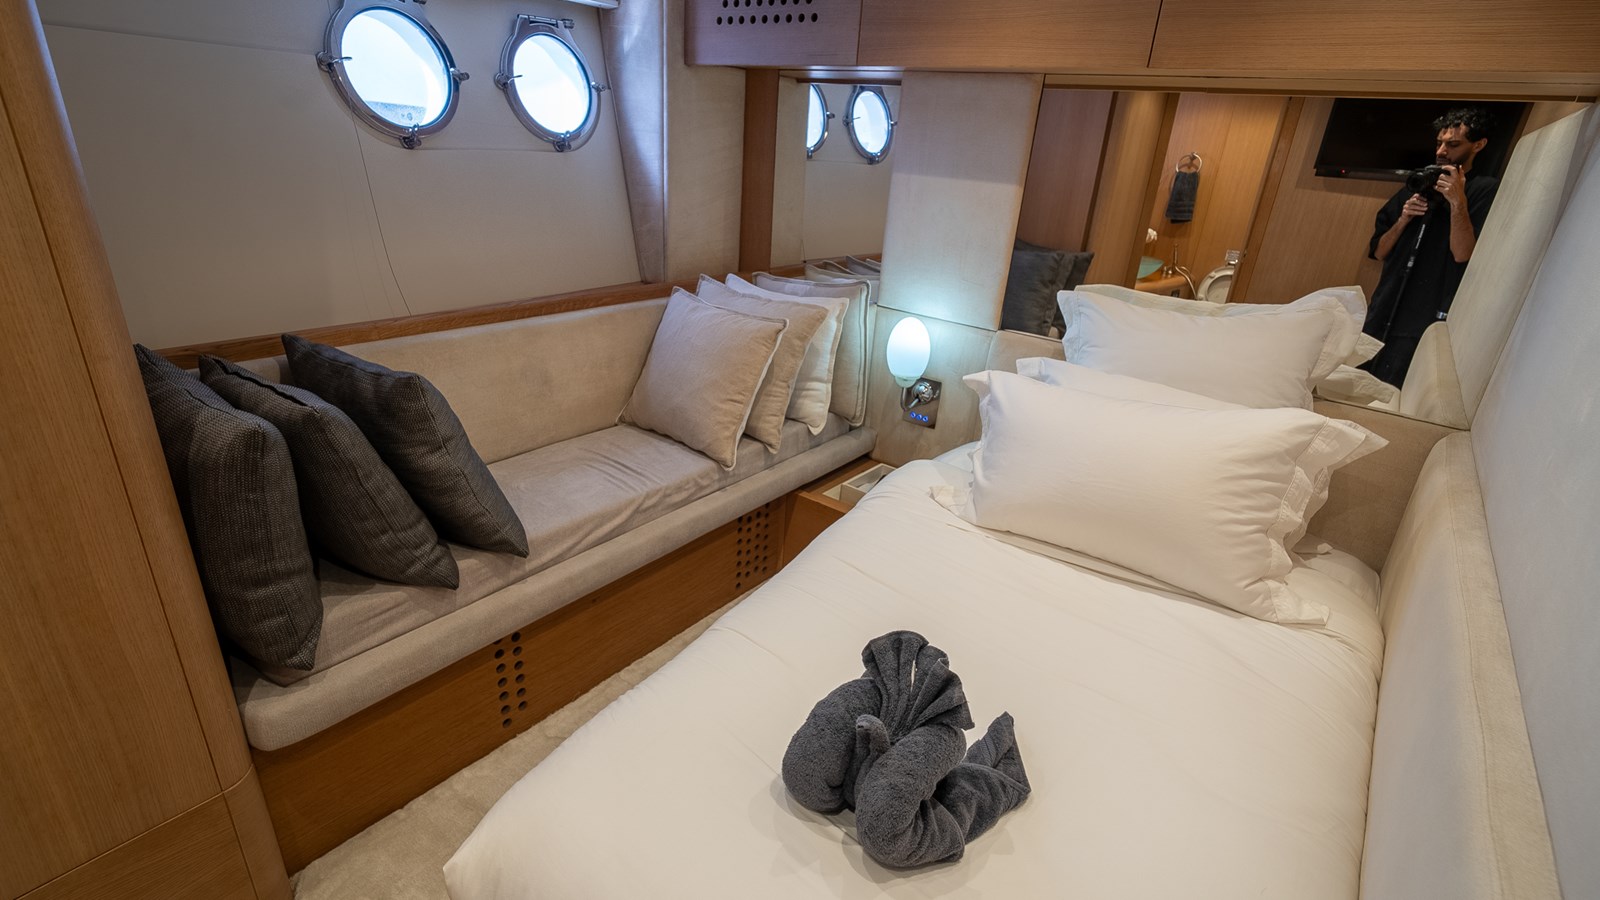
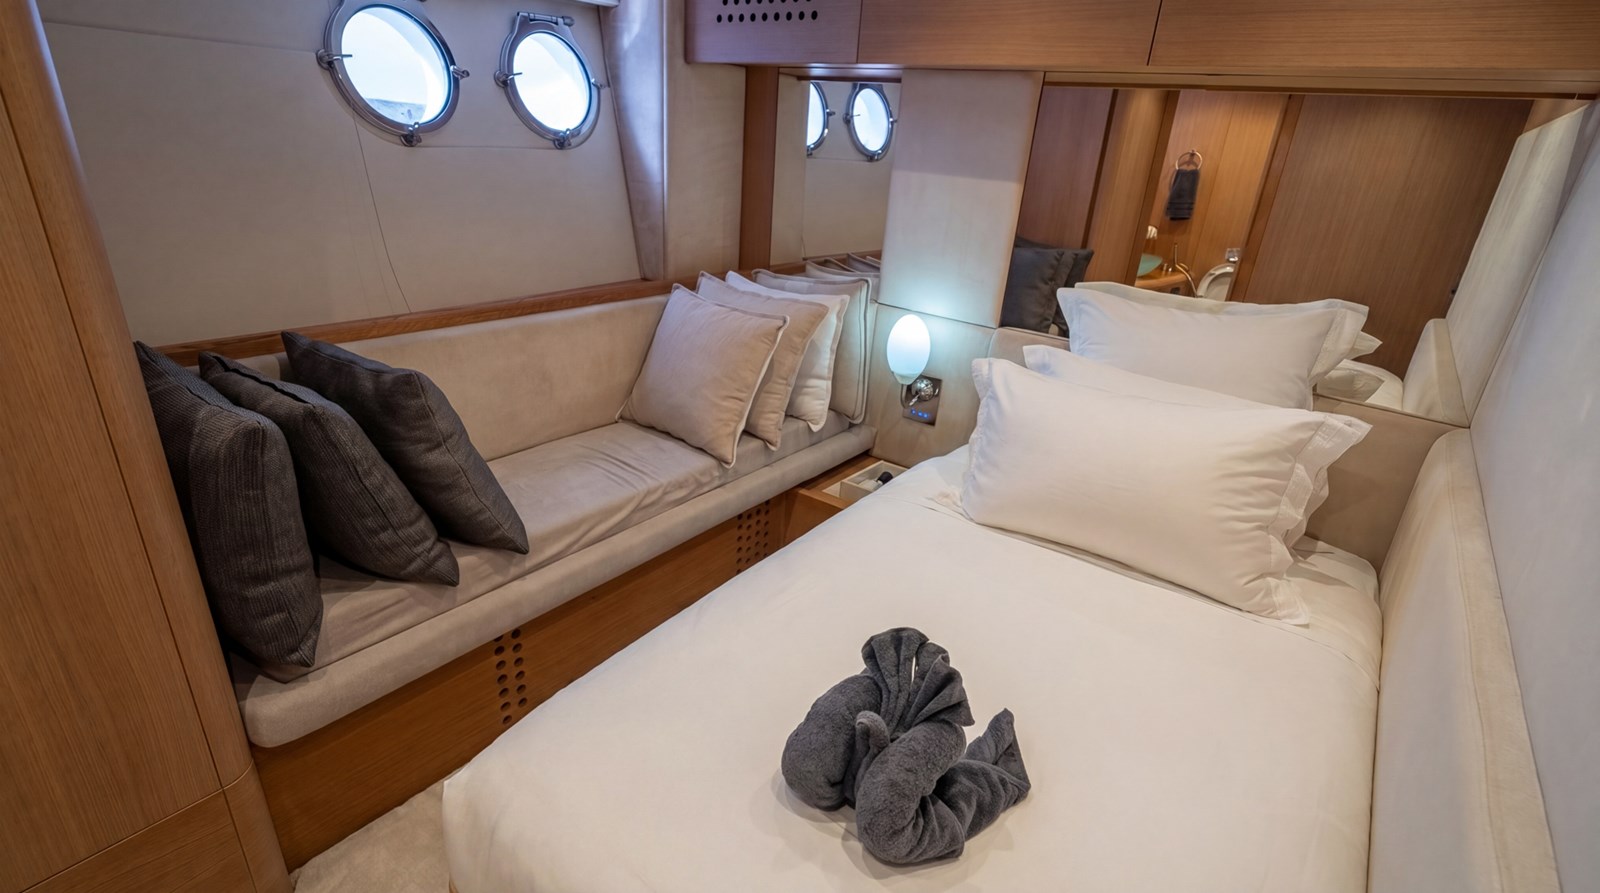
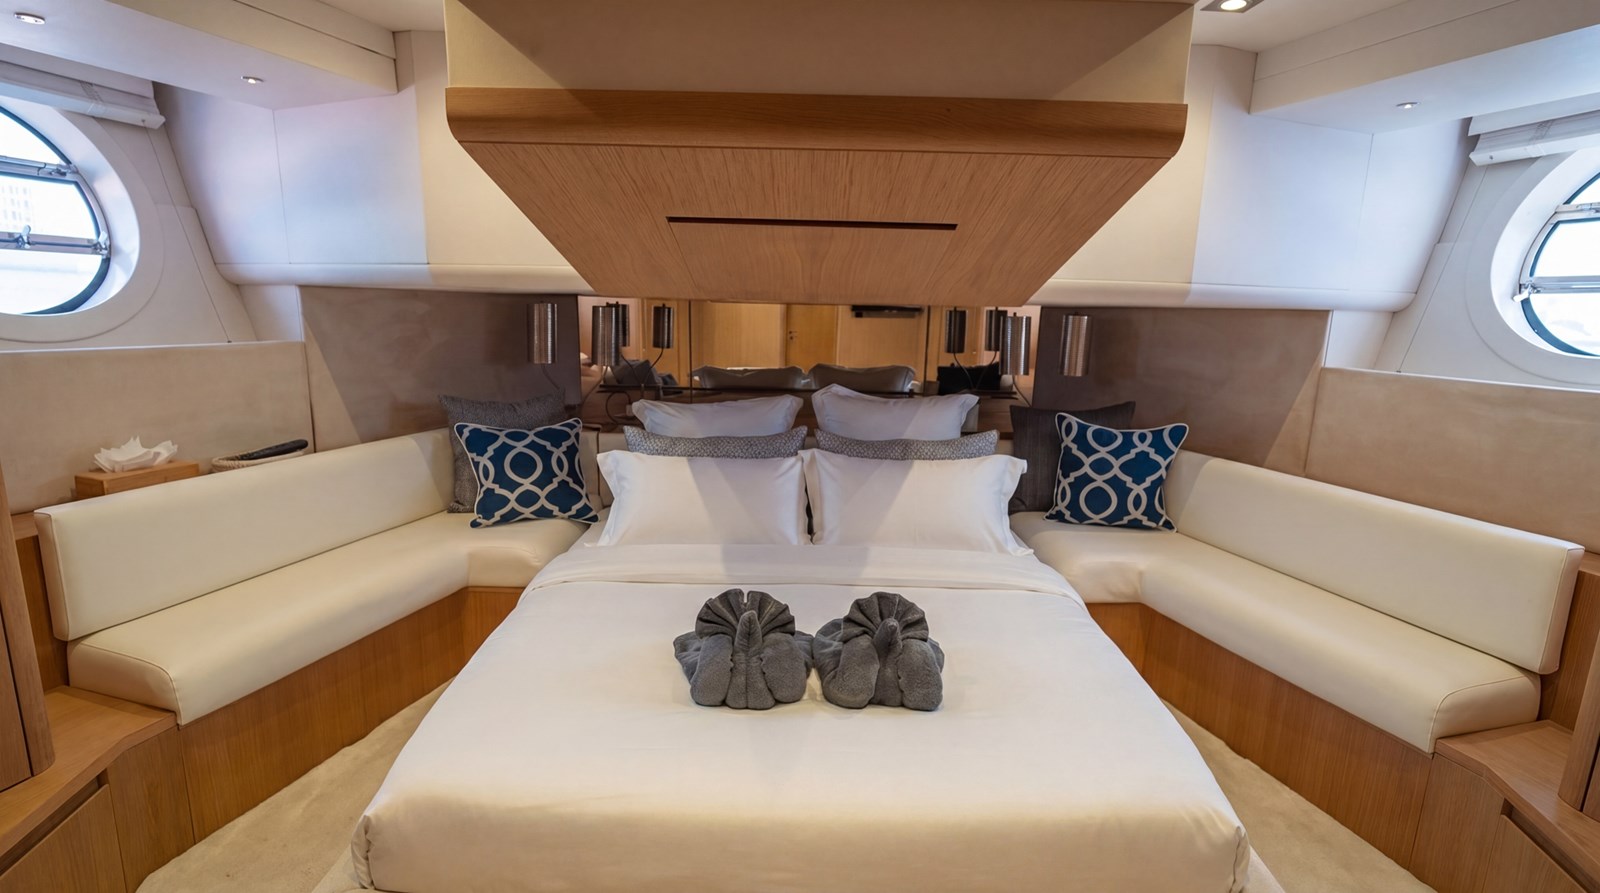
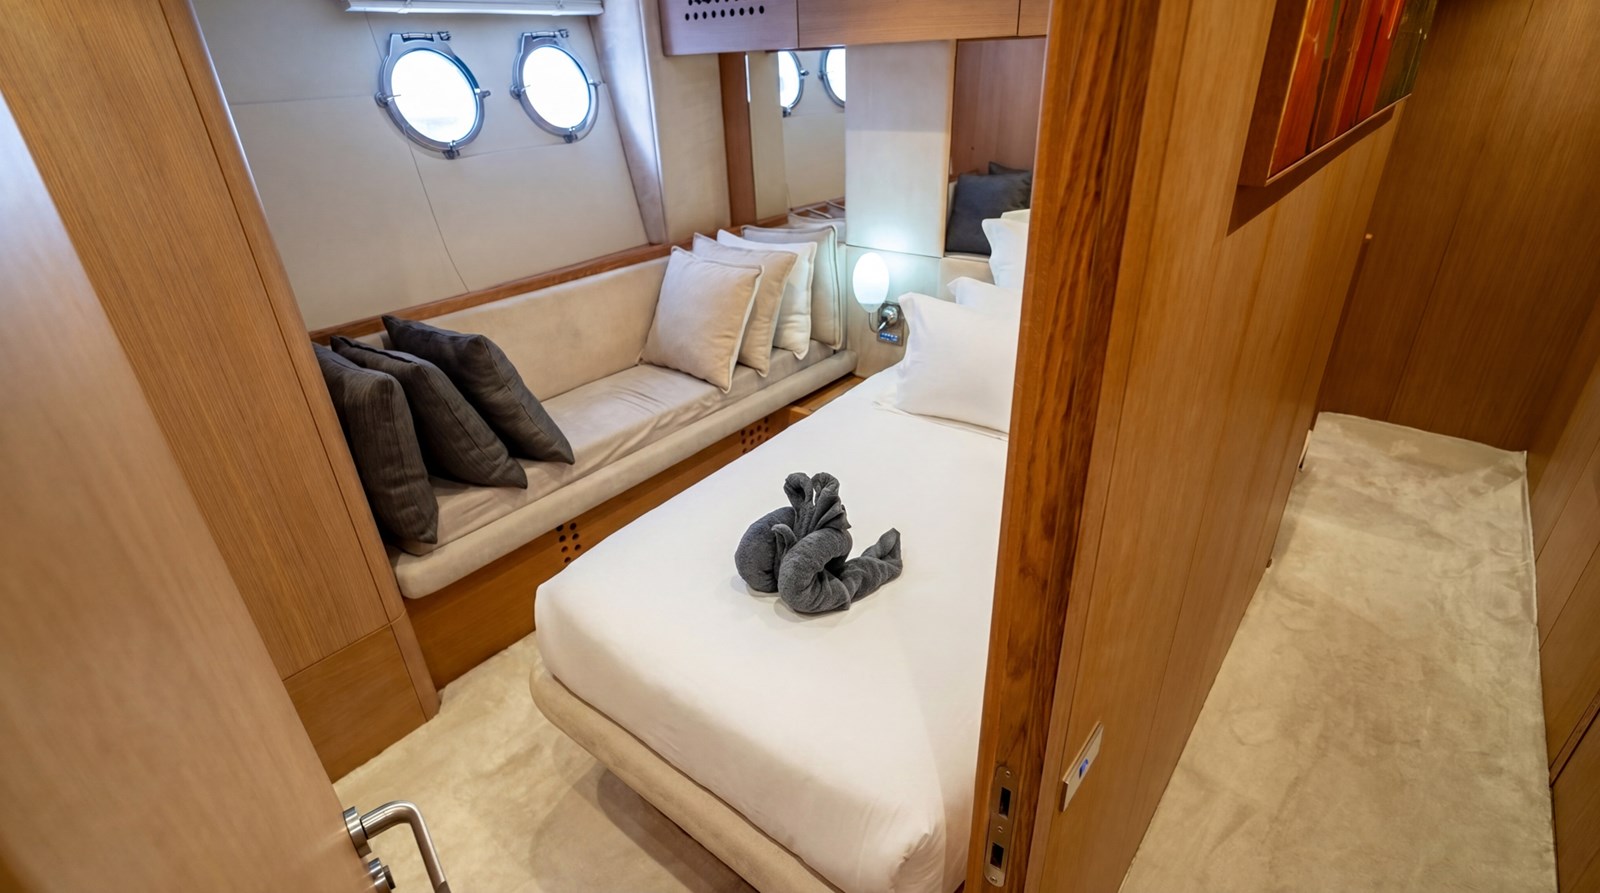
- State Rooms 4
03 Additional info
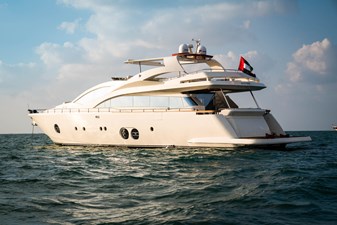
Aicon 85 Yacht for Sale | 2007 Model | Fully Refit 2025 | Luxury Motor Yacht
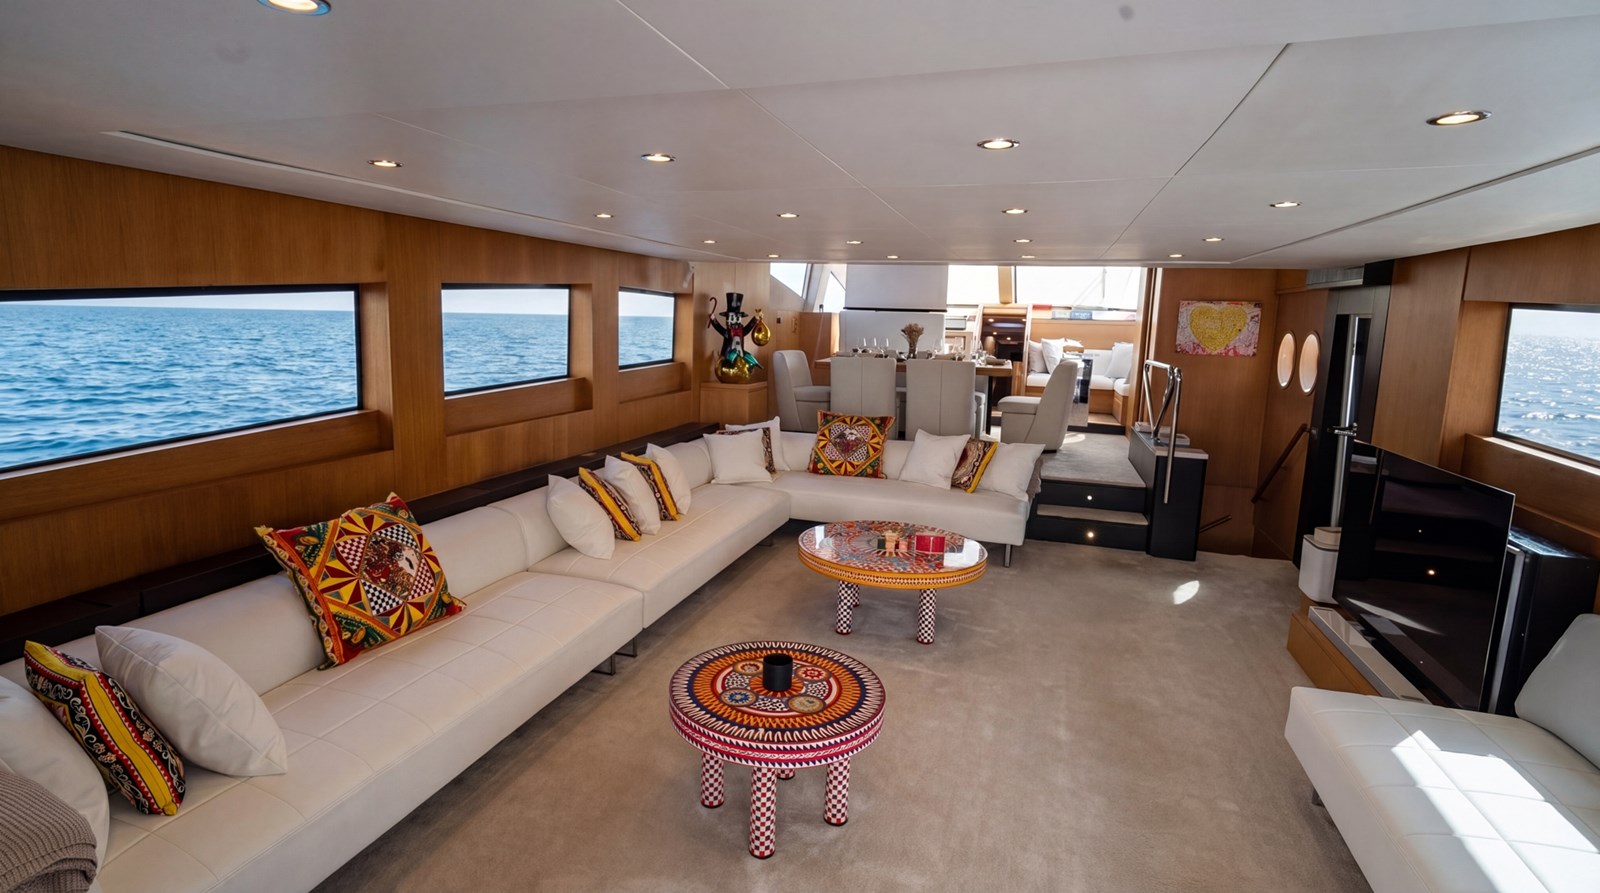
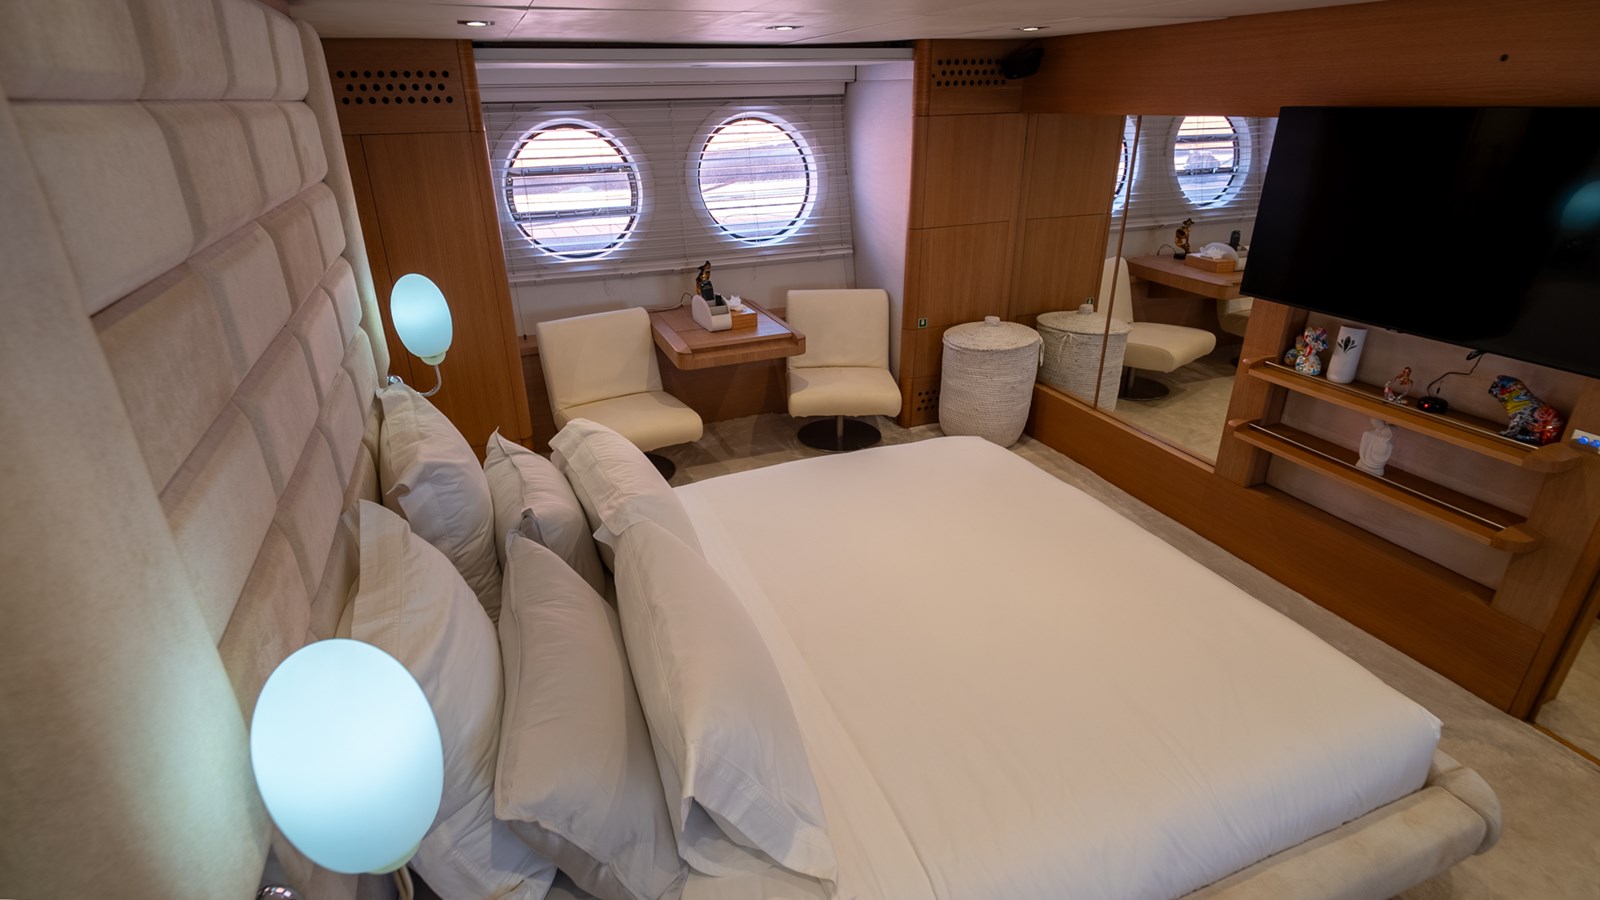
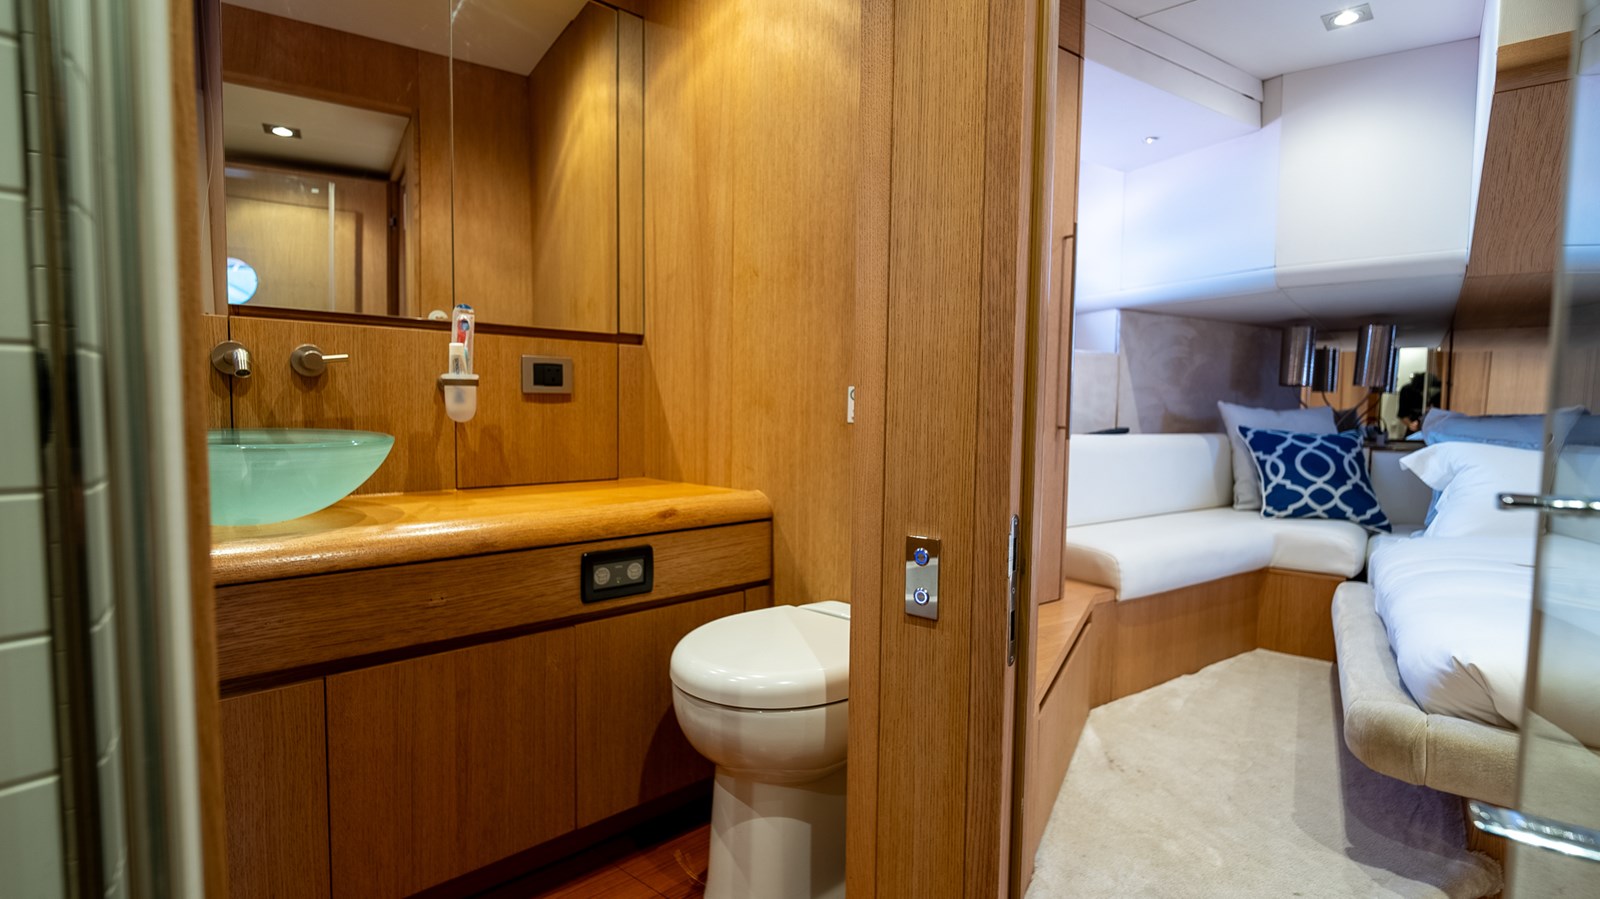
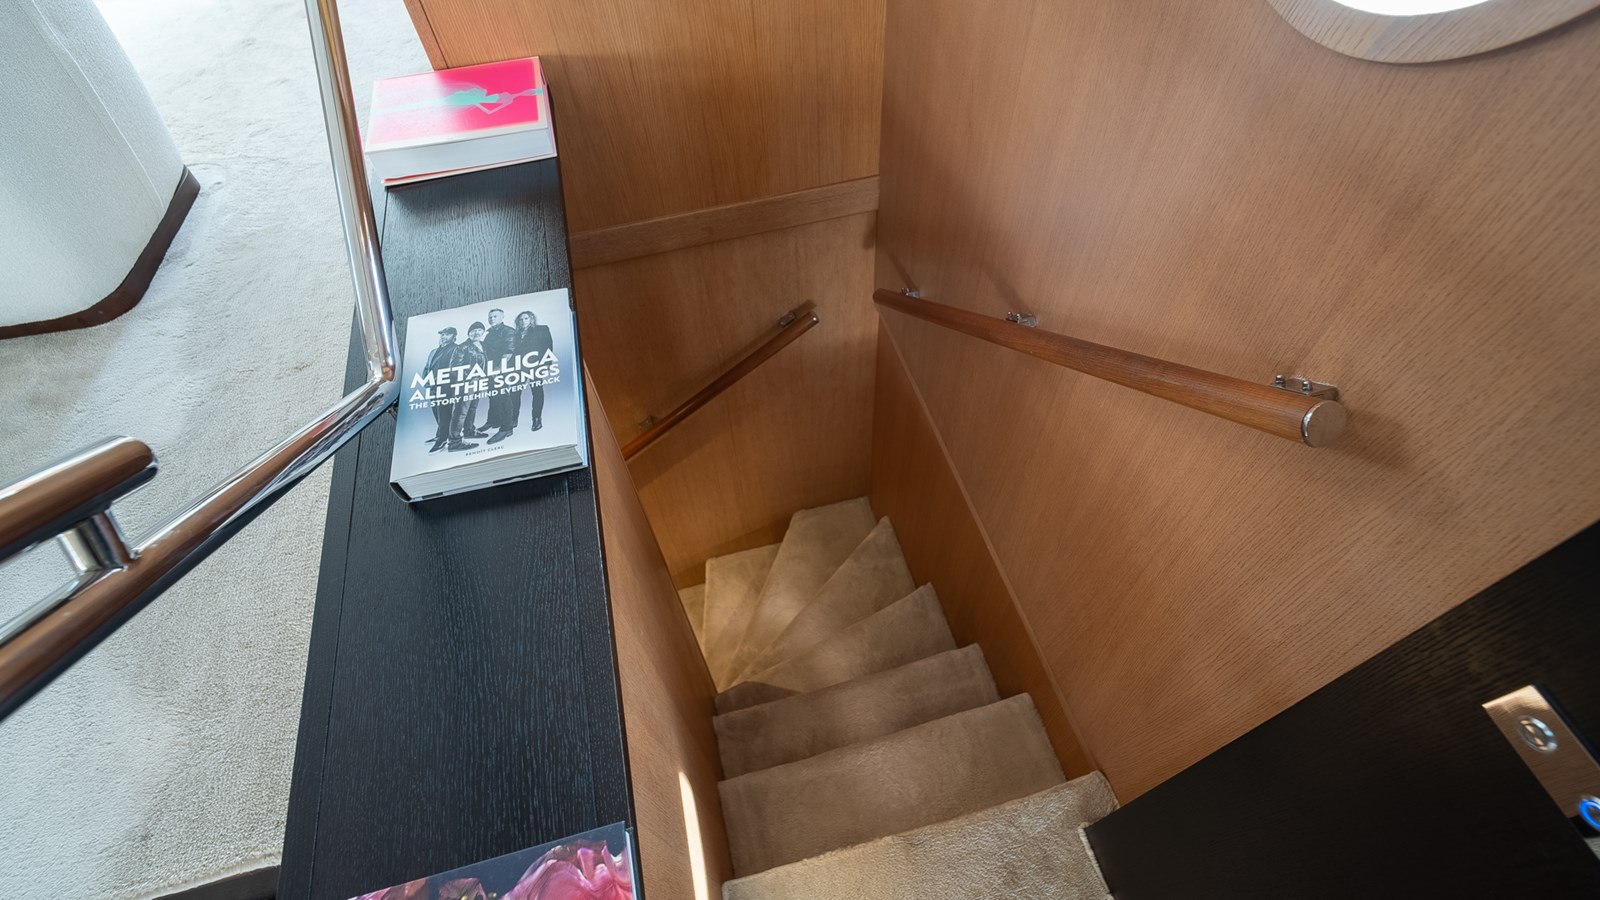
Step into refined Italian luxury with this exceptional Aicon 85 yacht for sale, a stunning 2007 model that has undergone a complete refit in 2025, transforming it into a modern, turnkey superyacht-ready vessel. Combining elegant design, powerful performance, and spacious living areas, this Aicon 85 is perfectly suited for private ownership or high-return charter operations.
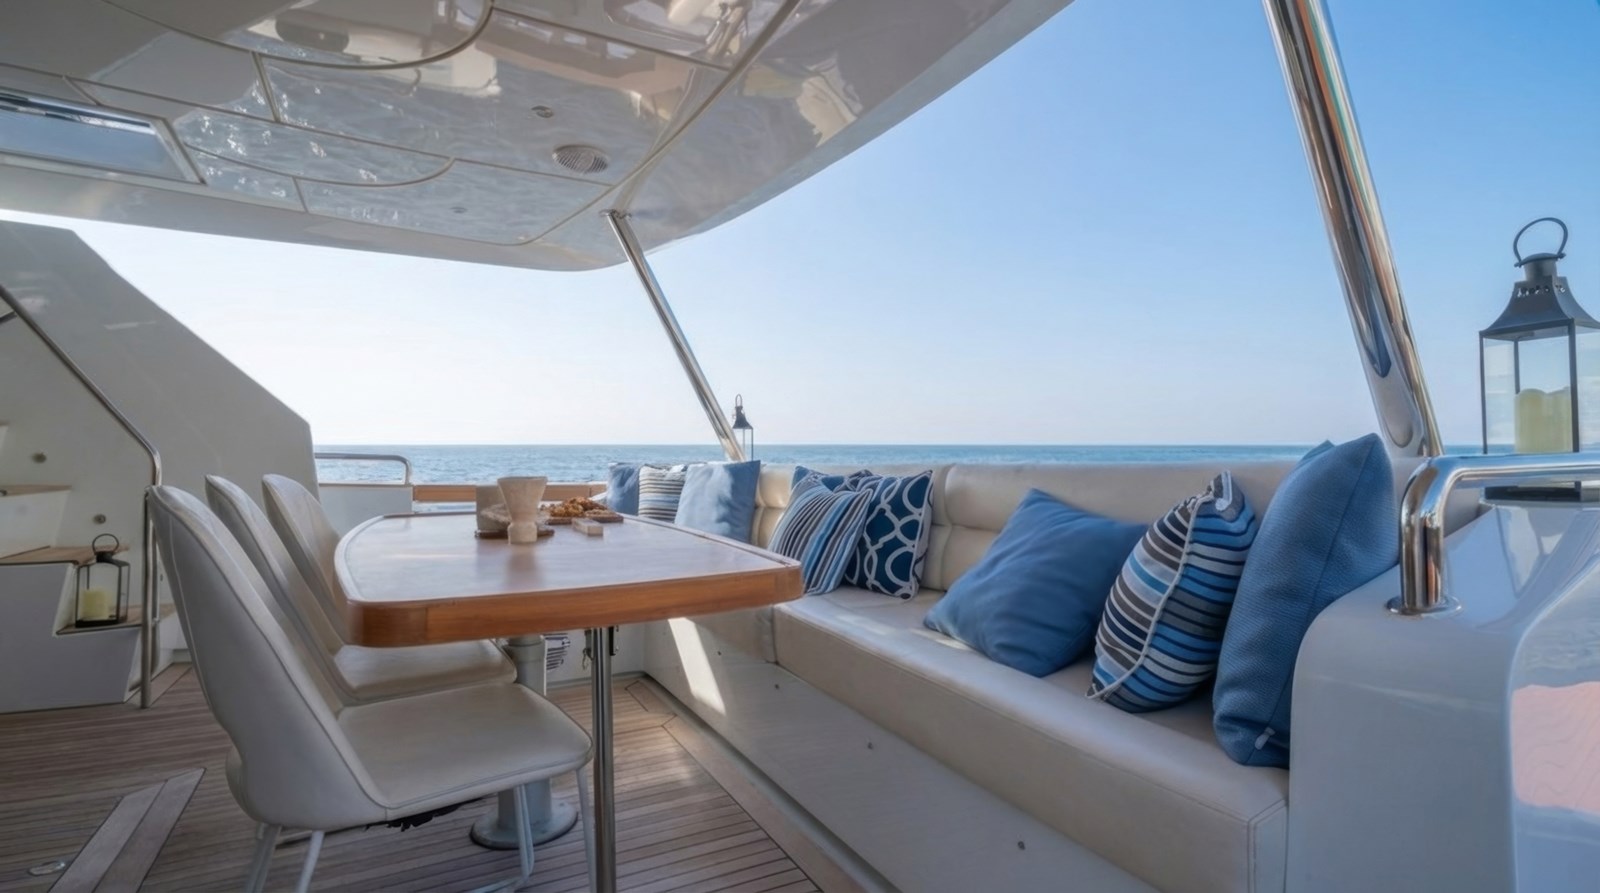
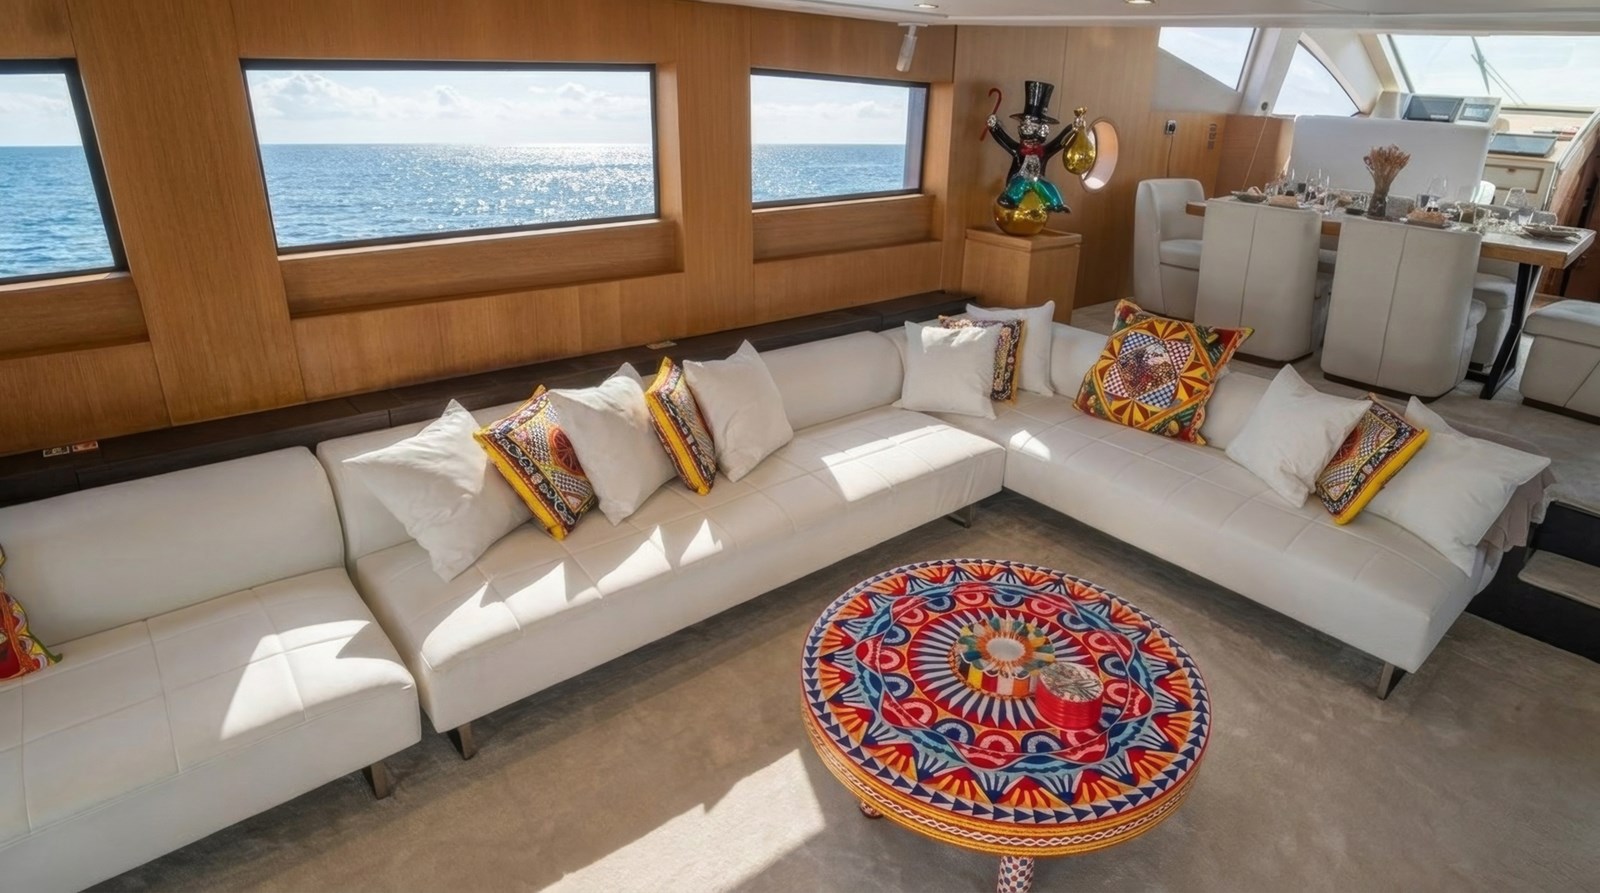
Renowned for its sleek profile and solid build quality, the Aicon 85 motor yacht delivers a perfect balance of performance and comfort. The extensive 2025 refit ensures the yacht meets contemporary luxury standards, featuring upgraded interiors, refreshed exterior finishes, enhanced navigation systems, and improved onboard systems for reliability and efficiency.
Major Refit 2021
Refit 2025
Paint Job
- Carry out Painting on the Exterior surface above waterline and below water line of The Yacht using Chromax metallic paint and Boero for underwater hull:
- Remove all the accessories which possibly can be removed.
- Mask and protect the area like SS rails overboard hull fitting,anchors, winches and all required to protect.
- All the areas of crack, bubbles, pin holes, discoloration, joints to be grinded well to achieve good surface
- Fill and fair using appropriate filler.
- Sand the repaired areas and rest of entire boat for paint.
- Application using various grid papers like 60,120,and 320.
- Application of (Chromax) Primer on the entire surface for paint application. Sand and check any pin holes and fill with rapid filler.
- Sand check for smooth surface for final coat of paint.
- Check final smoothness using dry coat.
- Wash entire boat with fresh water and replace masking/ tent for final paint. Application of final (Chromax) paint.
- Entire yacht polishing, demask and final cleaning.
- Covering full area with proper materials.
- Remove all the cracks and repair with epoxy filler.
- Sand all filled areas with 80-grit sand paper.
- Sand all filled areas with 120-grit sand paper.
- Apply 2 coats primer apply to all areas.
- Sanding application with 320-grit sand paper.
- Patch fill checking and sanding application with 400-grit sand.
- Covering full area with proper materials.
- Apply top gloss final paint (Metallic)(Chromax).
- Apply top clear two coat (Chromax).
- Sanding all Paint areas with 1500 + 3000-grit sand paper.
- Polishing paint areas with G3 polish 2 times.
- Polishing paint areas with G10 polish 2 times.
- Polishing paint areas with 3M 09375 polish 2 times.
- Polishing paint areas with 3M 09374 polish 2 times.
Extra Work
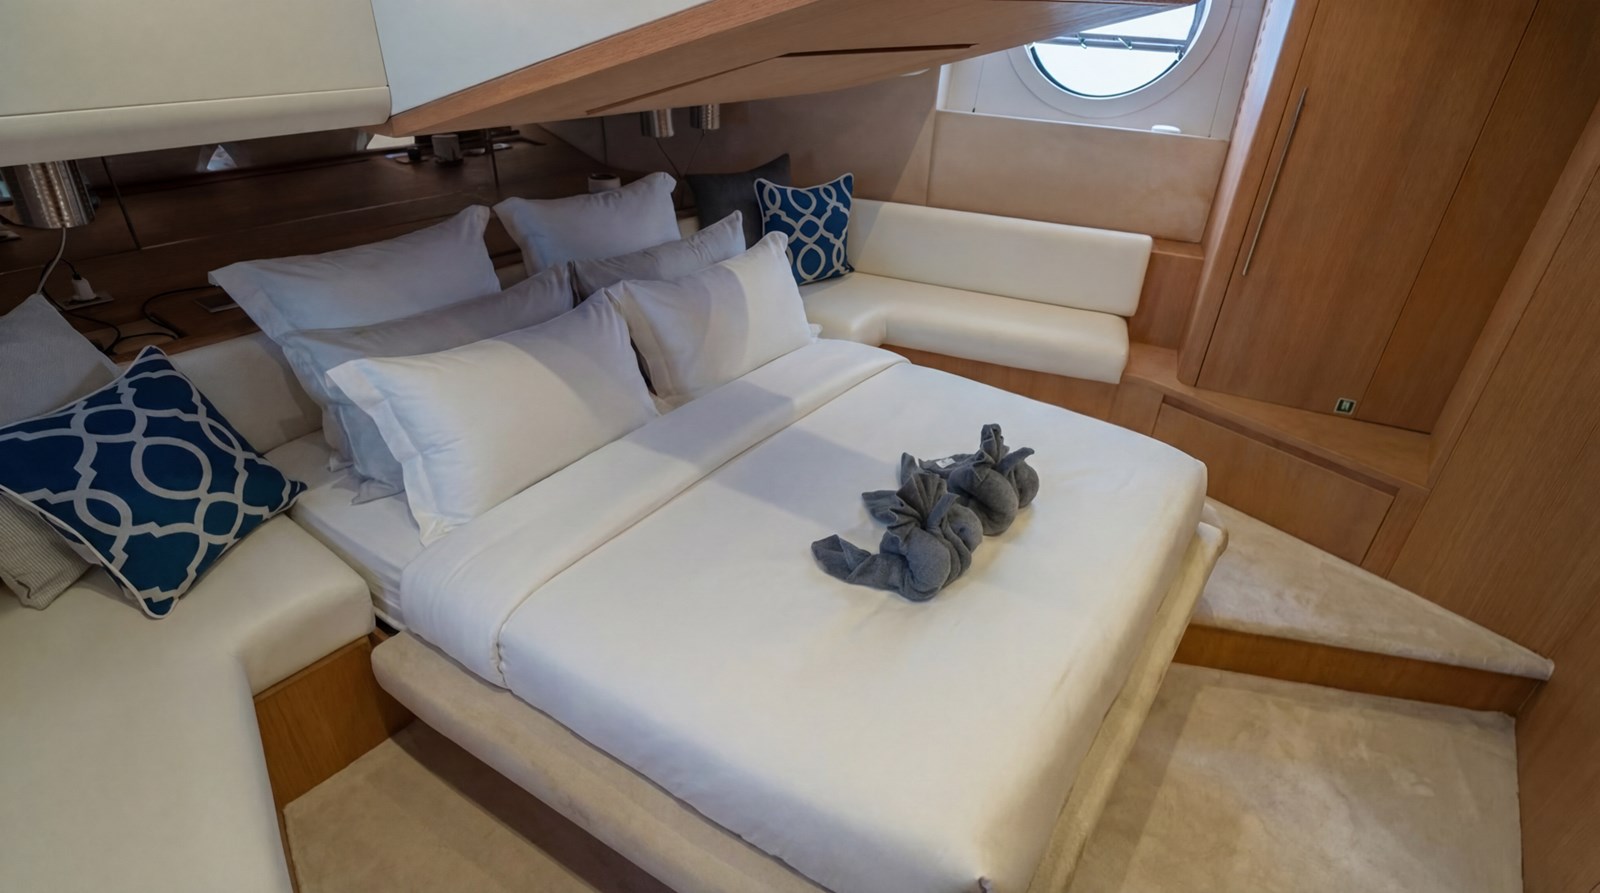
- Carpet renewal
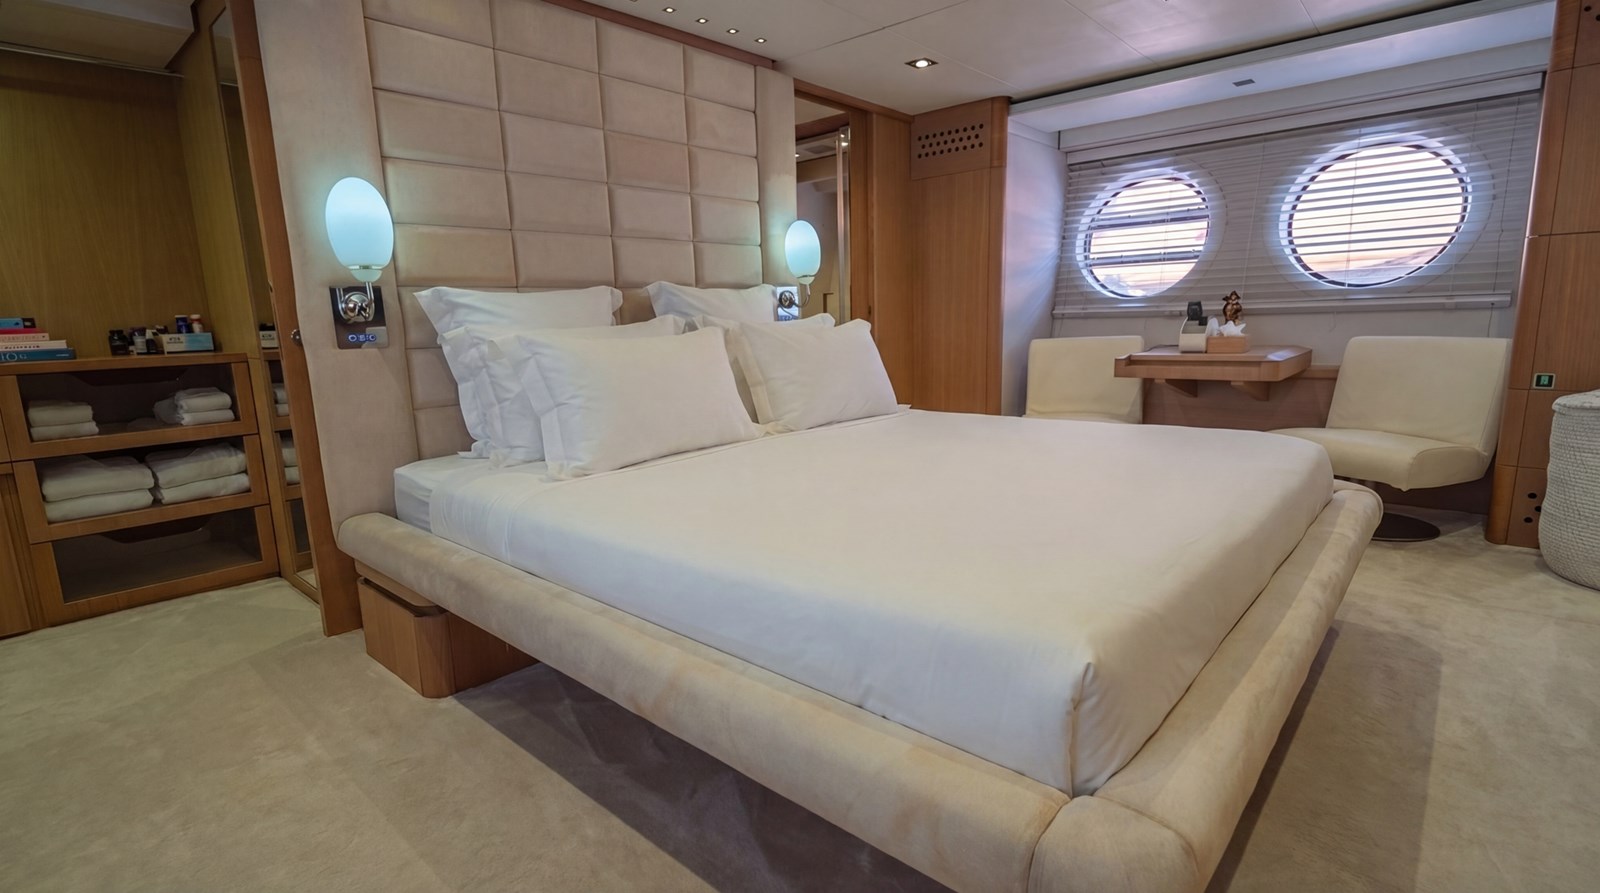
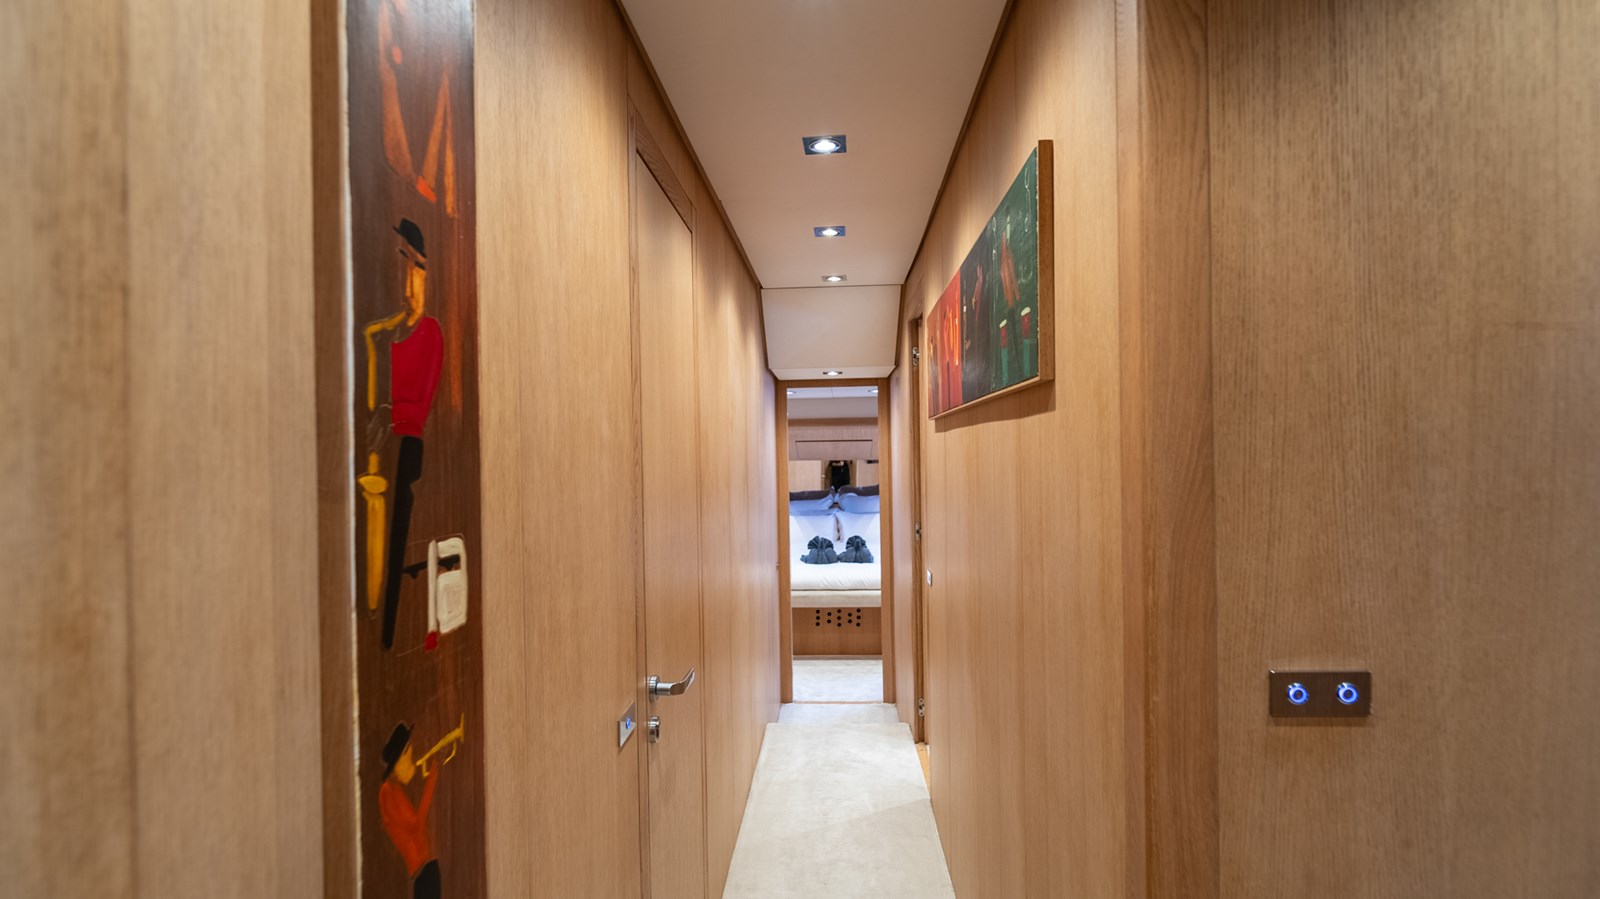
- Master Bedroom Wall Panels.
- Renewal of aft D fender.
- Main Monitoring and control system display diagnostic and re-paired get proper operation and tested.
- Hydrulic cylinder service id - 85mm OD -100MM stroke -1 meter- dismantling- inspection- Replacement of seals - replacement of counter balance
- New oocian breeze chiller 48k btu single phase , 220v, 50/60hz, 410 gas made in japan.
- Refurbished hpwatermaker 60GL PR/M MADE IN ITALY
- Installation labor for chiller water maker material.
- Removal of existing damaged inuslation and sund proof Insulation at engineroom deckhead.
- Removal of existing damaged inuslation and aluminum foil flasfabric at engine room bulkhead.
Engine room refurbishment
- Protect all engine room equipments with plastic
- Remove all chequered plates
- Wash and clean with degreaser
- Renew only damaged chequered plates
- Degrease the engine room bilge area
- Wash,clean and mop dry
- Carry out sanding as necessary
- Apply 2 coats of white paint
- Make through holes on longitudinal frames for easy water passing to bilge pump Put back chequered plates and mop dry
- Carryout cleaning of engines and generators (painting not included)
- Carry out painting of engine room walls only accessible areas
Generators sound proofing .
- Remove the panels of the generator box Remove the old sound proof cladding
- Clean and paint the panels
- Install sound proof cladding
- Fix back the panels on the generator
Shaft and propeller, brass cutlass bearing & lip seal refurbishment
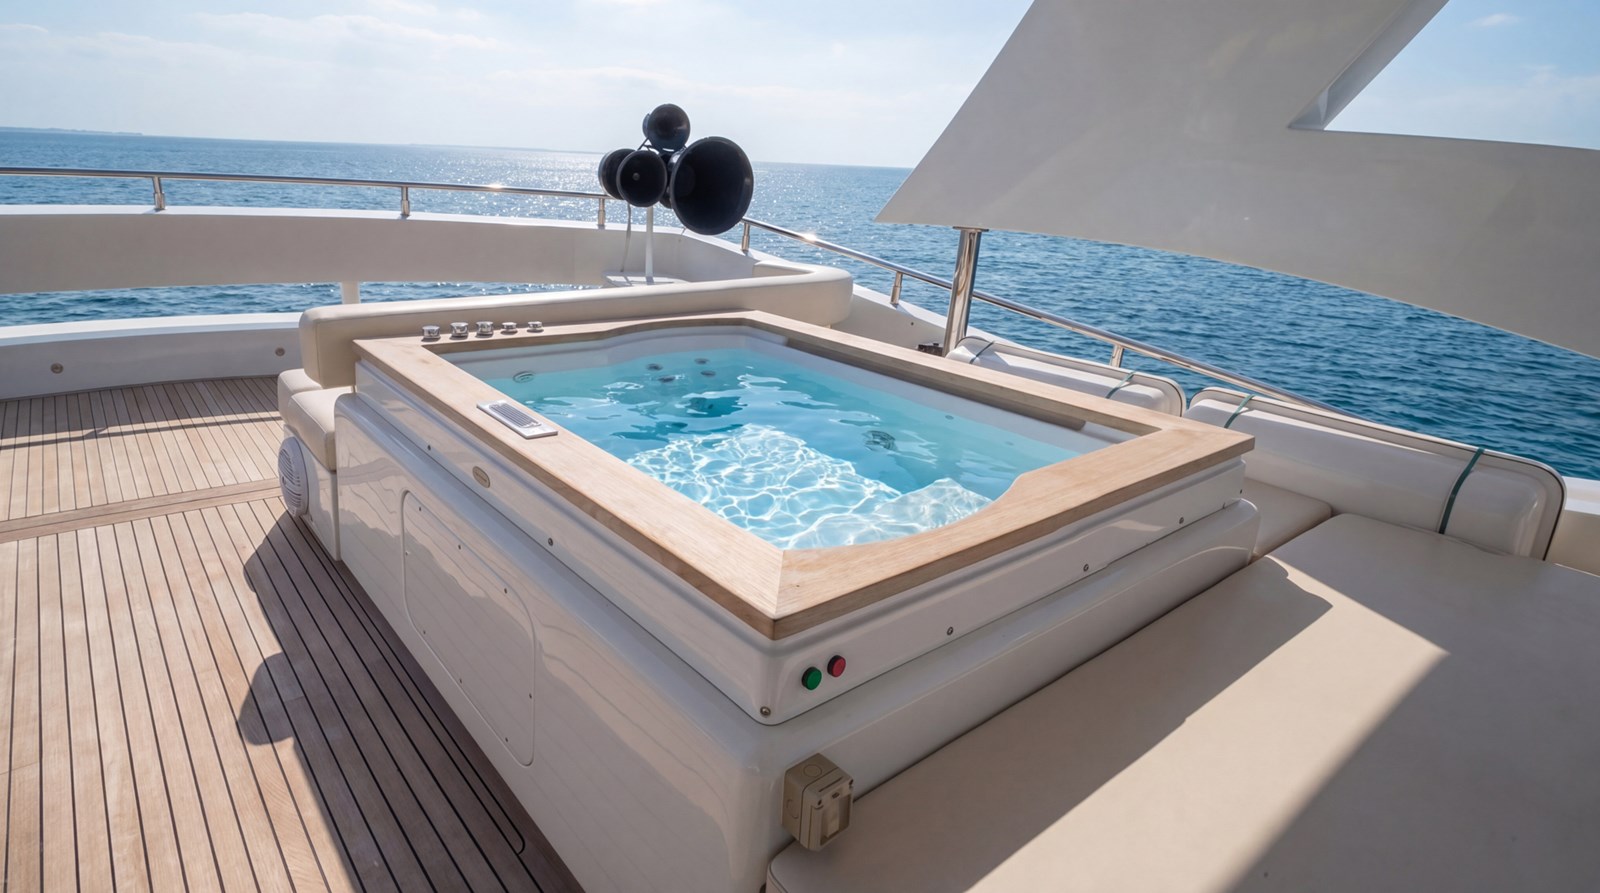
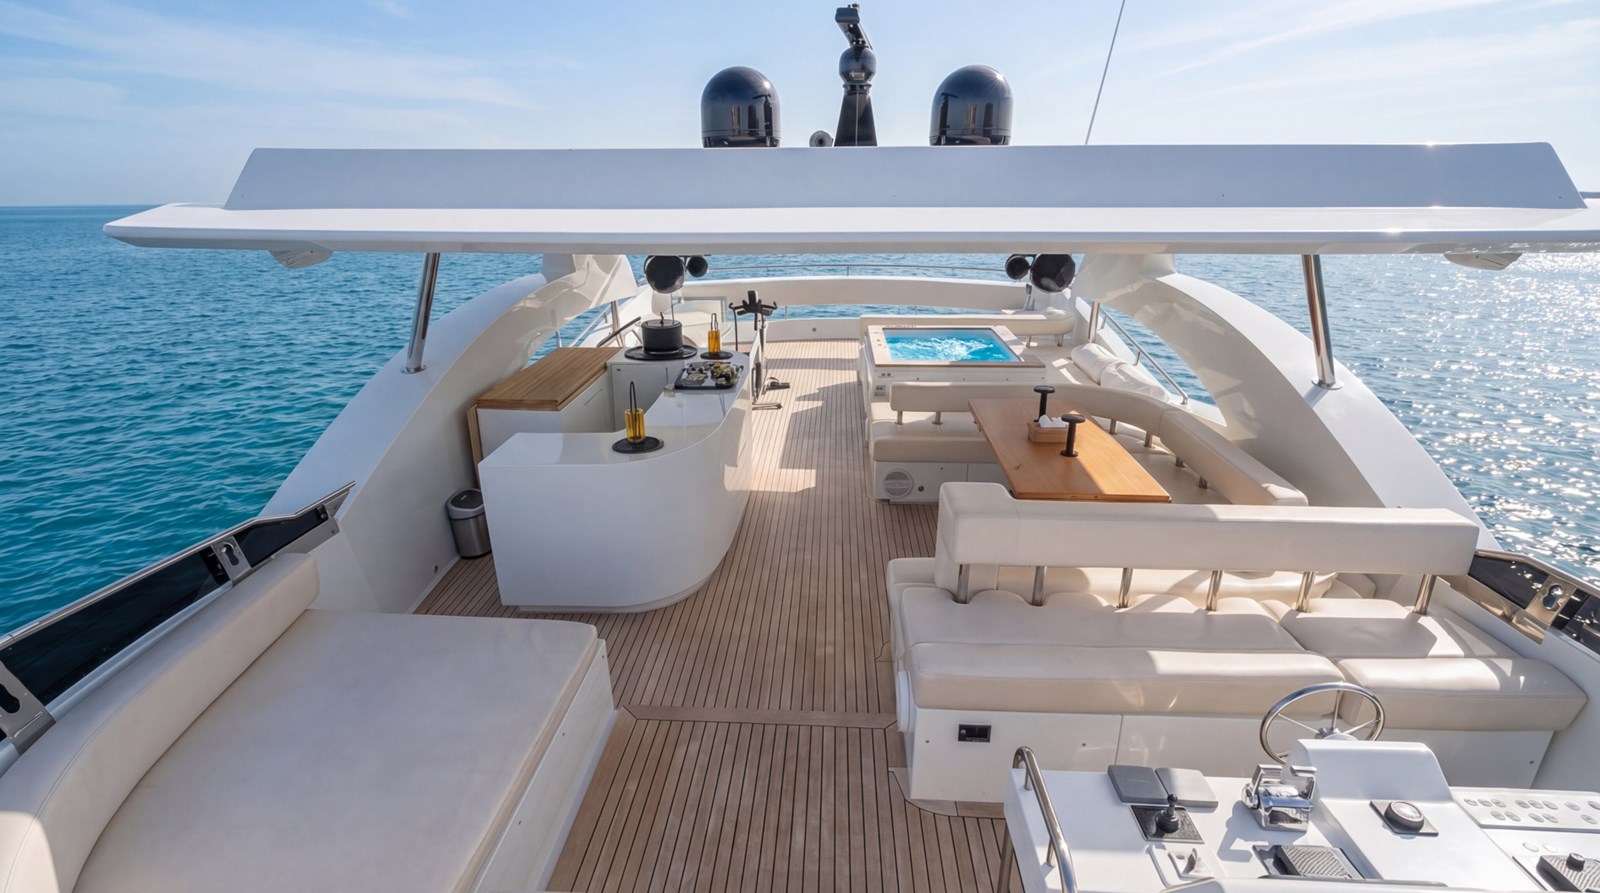
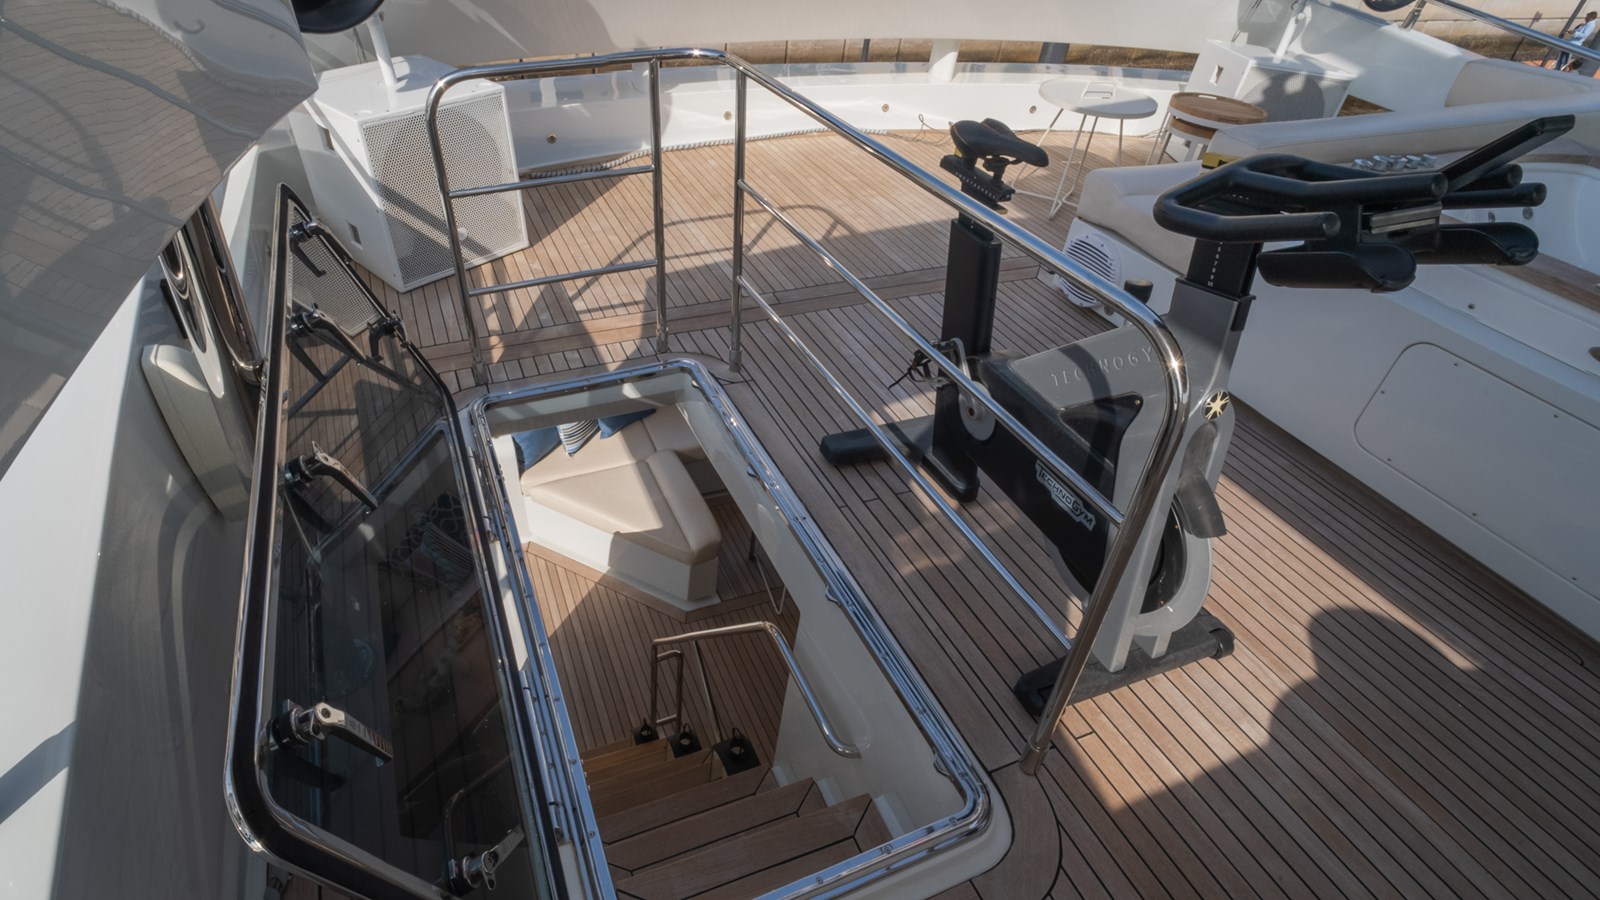
- Hydraulic Swimming platform
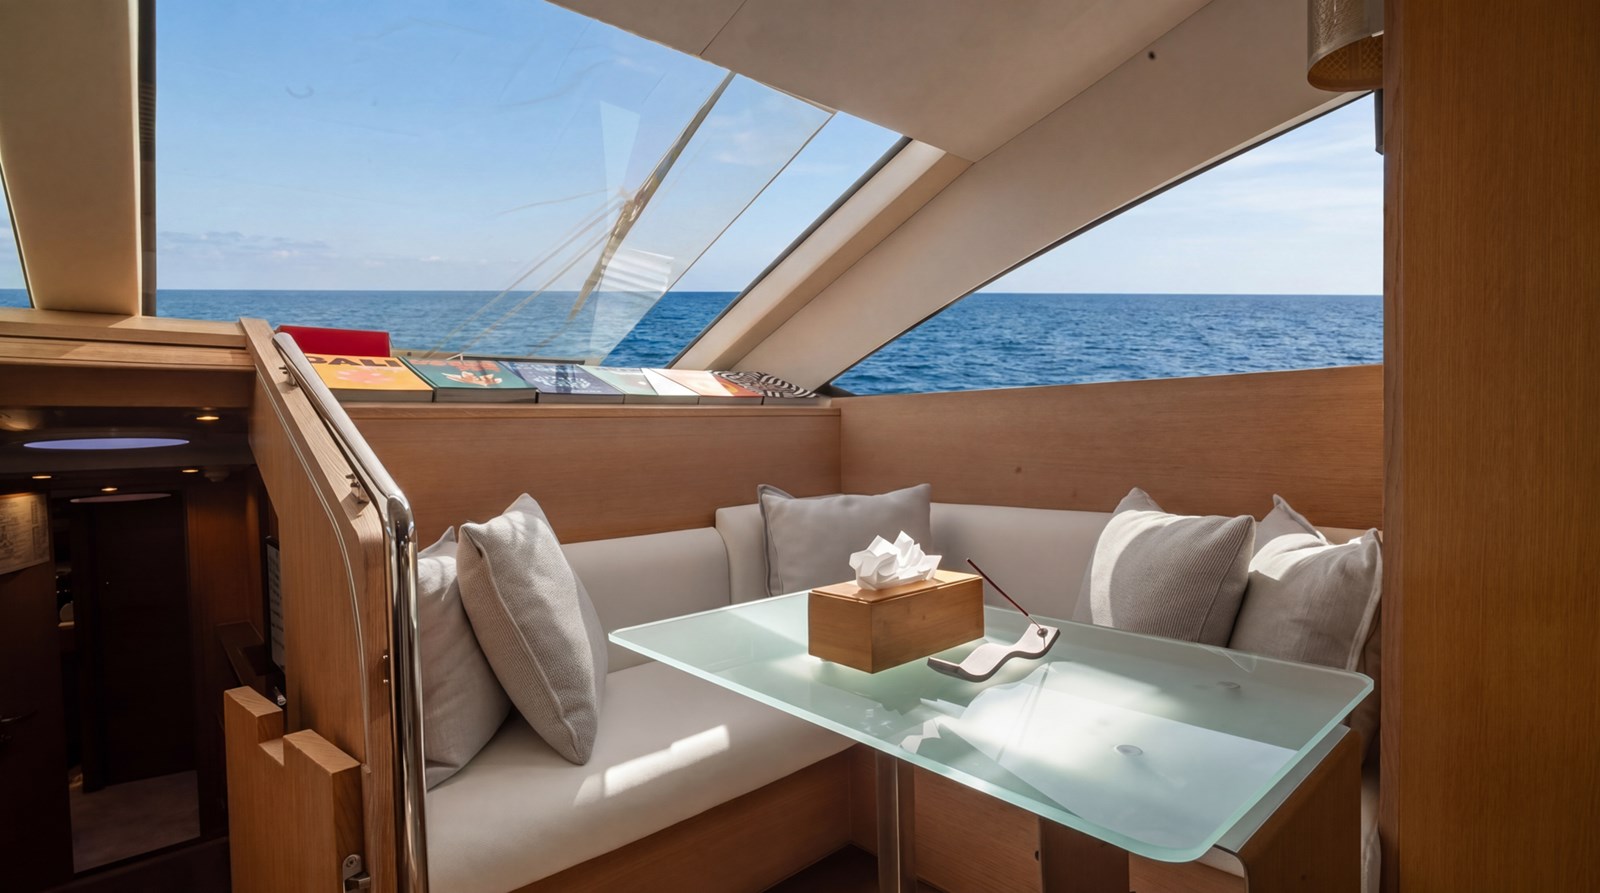
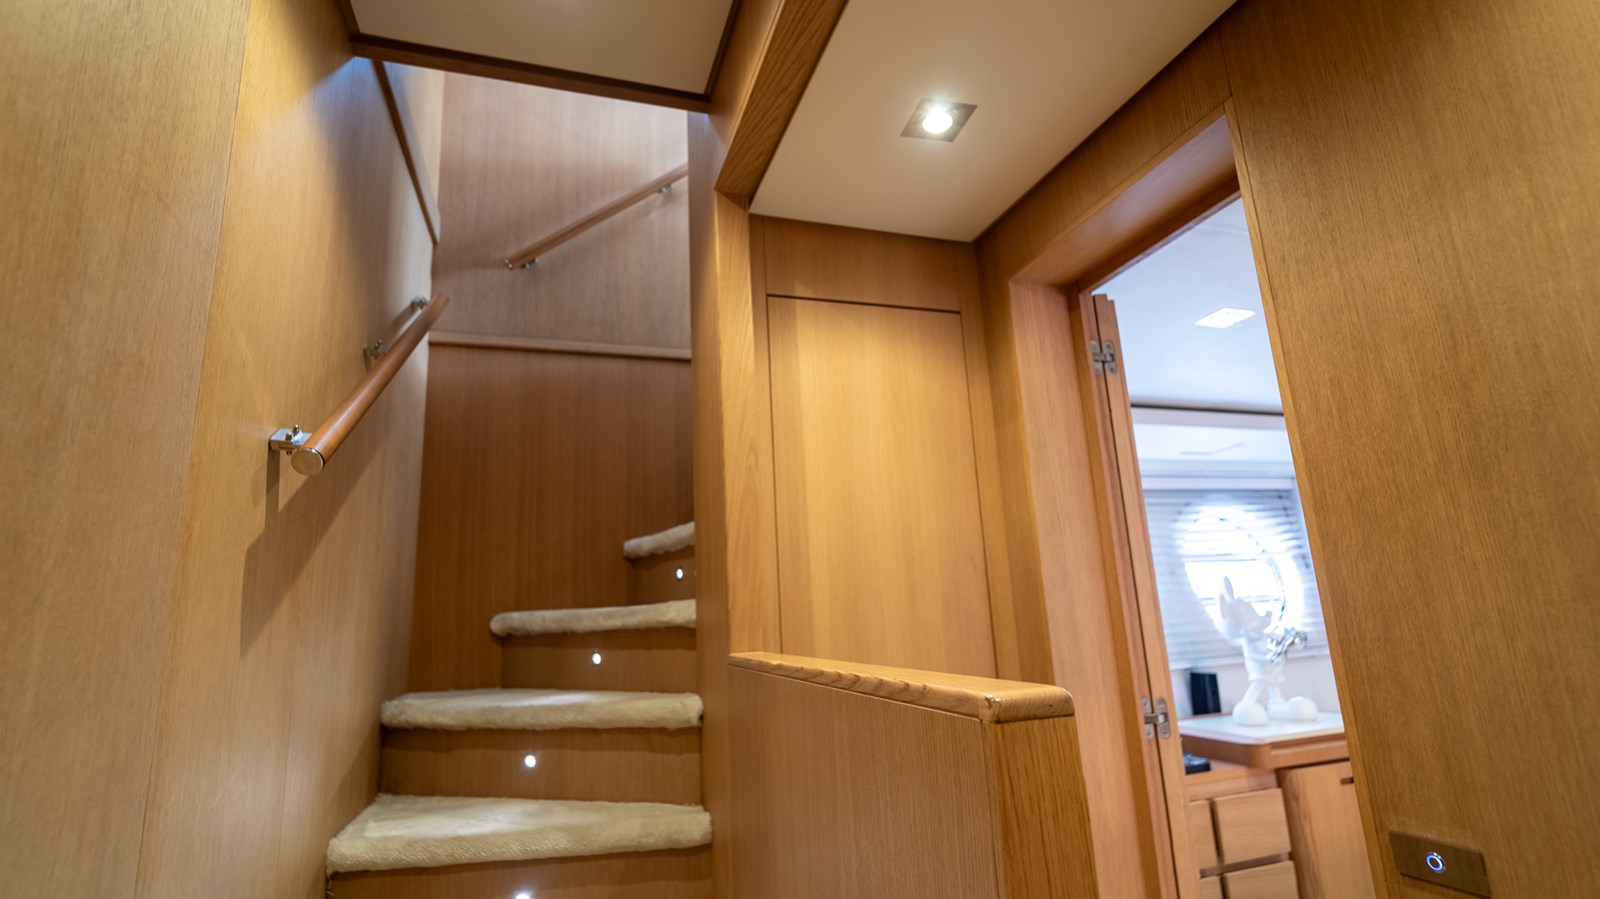
- Interior Refurbishment
- Teak deck sanding
- Miscellaneous teak sanding
- Renewal of aft external ceiling:
- Fly bridge Canopy
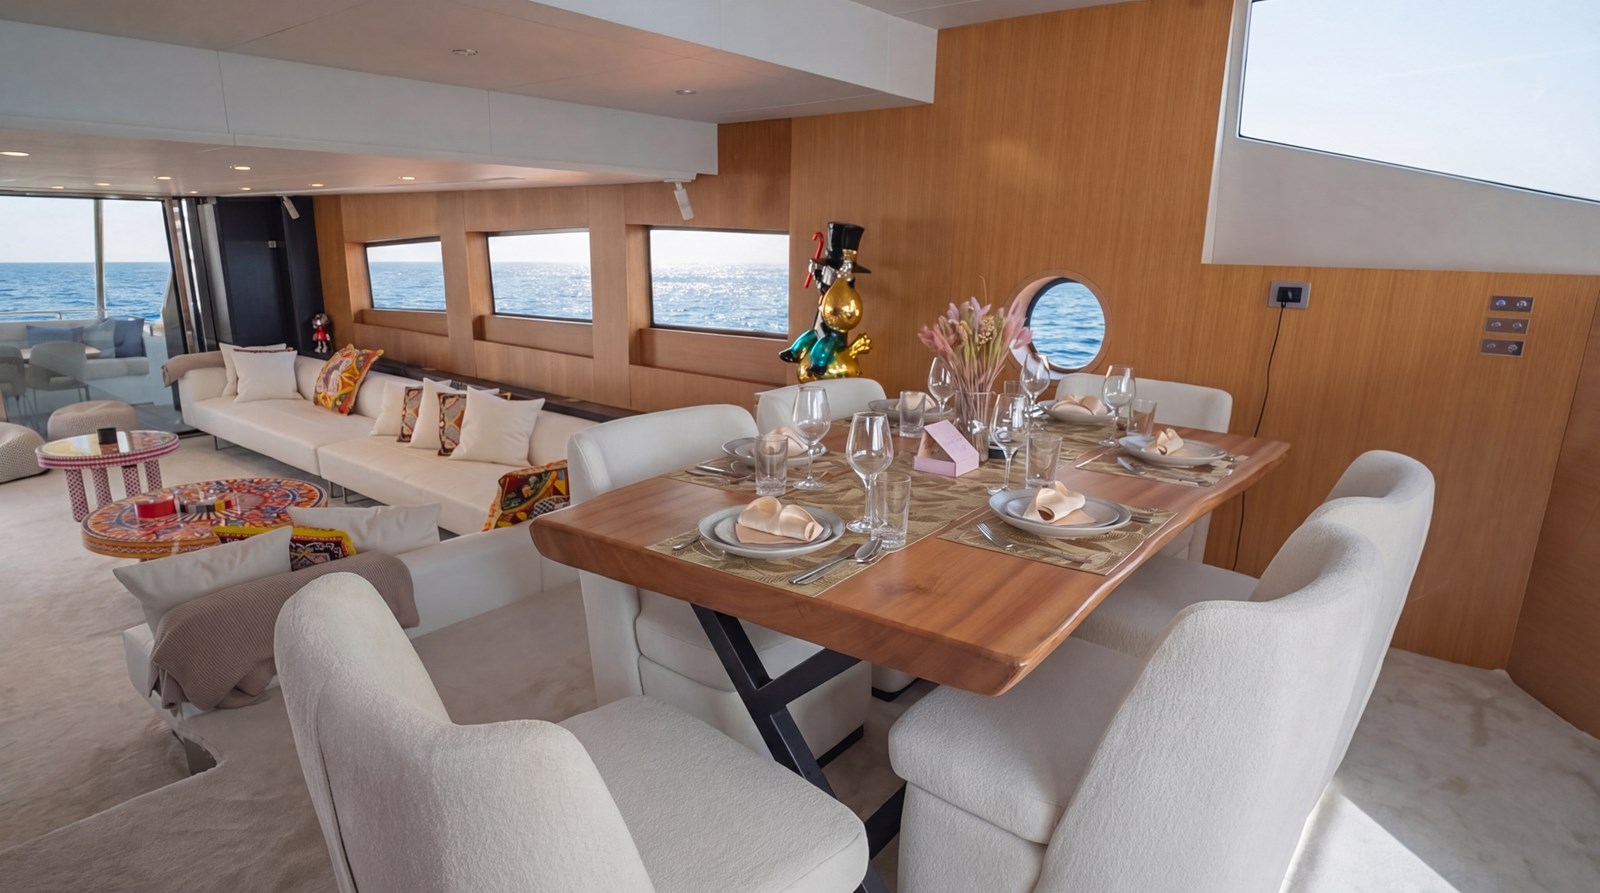
New Ceiling Arrangement In Salon Above Sofa Area.
- Remove the old ceiling in the salon
- Cut 15 mm plywood to size as per the design , taking into consideration the Centre line of the yacht 2 nos panels on each sides.
- Ensure sufficient gap is maintained for leather cladding
- Apply resin on the cut pieces of plywood
- Mark areas on the frames for fixing of the K/Q clips for future removal.
- Fix the female part of the clip on the ceiling frame.
- Mark the area’s corresponding to the female clip on the cut plywood pieces Carry out 1st fix of the plywood on the ceiling frames using the K/Q clips
- Wrap the cut pieces with white faux PU leather.
- Ensure the faux PU leather is tightly wrapped
- Carry out new cabling as per lighting plan.
- Create holes as per adequate lighting plan
- Install the new ceiling panels and the lights.
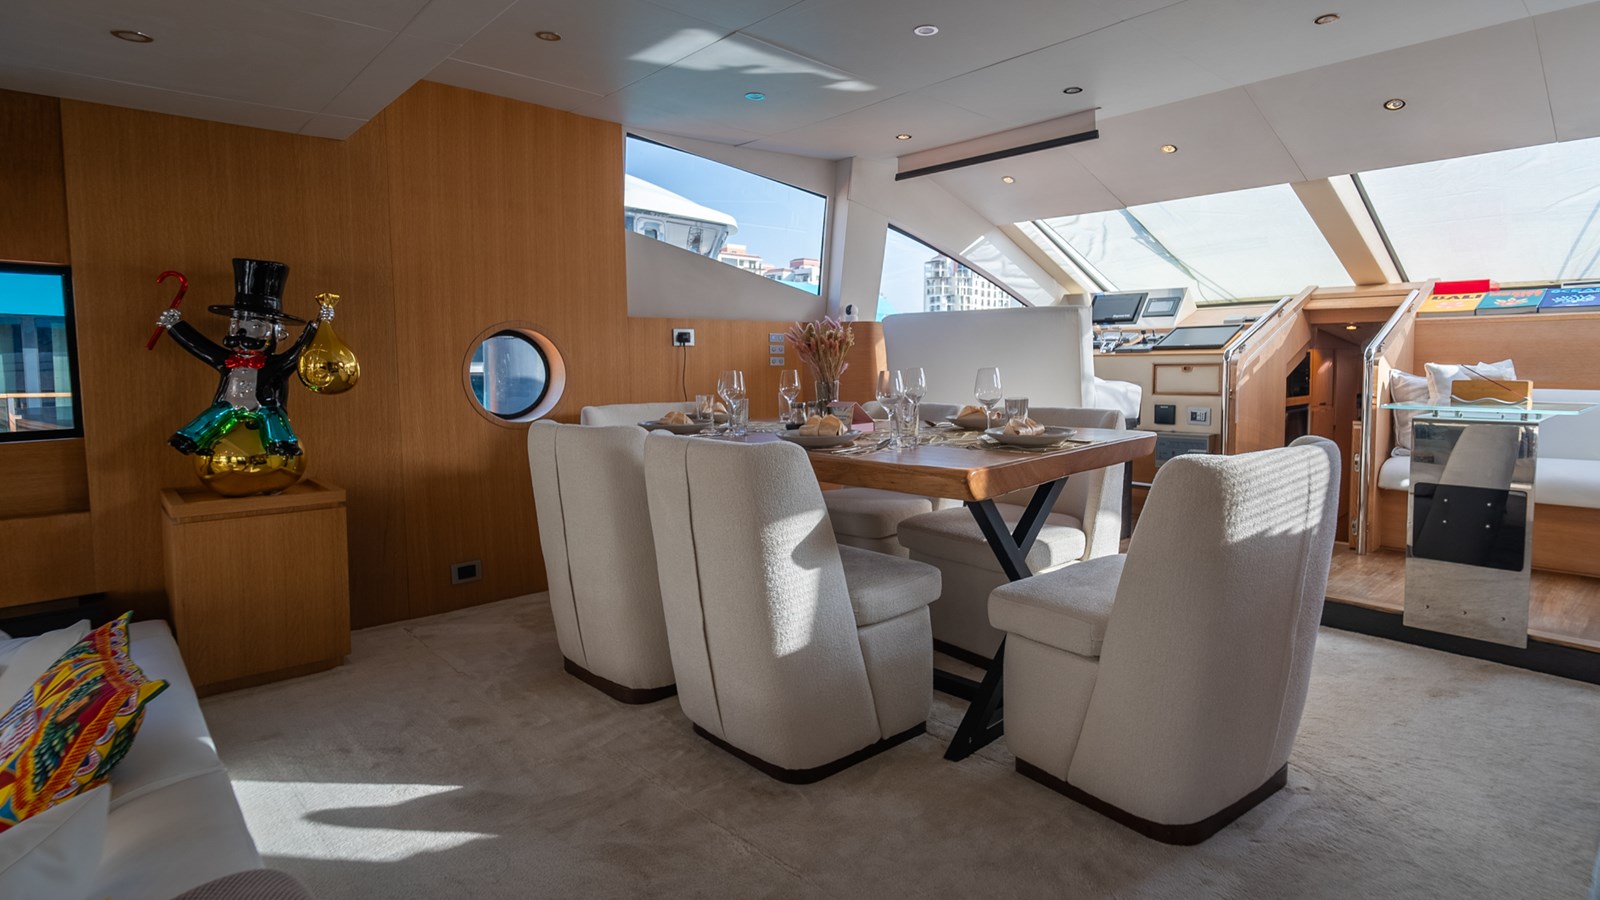
Removal Of Old DJ Console And Centre Drop Down Ceiling Panel.
- Disconnect the cables to the DJ console
- Disconnect and remove the ice maker and refrigerator
- Cut and remove the complete “L “ shaped console
- Fabricate and install 8 seater dining table as per approved design and surface finish Install new ceiling panel in the drop down ceiling area.
- Clad the ceiling panel with faux PU leather panel
- Make adequate holes as per lightings plan.
- Install new lights and new ceiling
Removal Of TV Console And Side Table And Closing Of A/C Panel.
- Disconnect and dismantle the side table and terminate the cables
- Dismantle the motorized TV console
- Close the A/C panel with matching veneer and create adequate vents for suction
- Blanking of old speaker holes
- Remove the old wall mounted speakers.
- Cut the existing holes to 150 mm width X 850 mm height. Ensure the
- Edges are in a straight line
- Rress veneer on 18/ 15mm plywood as per the existing plywood thickness and veneer type And Cut to size to match the grain structure.
- Glue the newly cut plywood pressed veneer into the recess and ensure a Smooth adjacent surface.
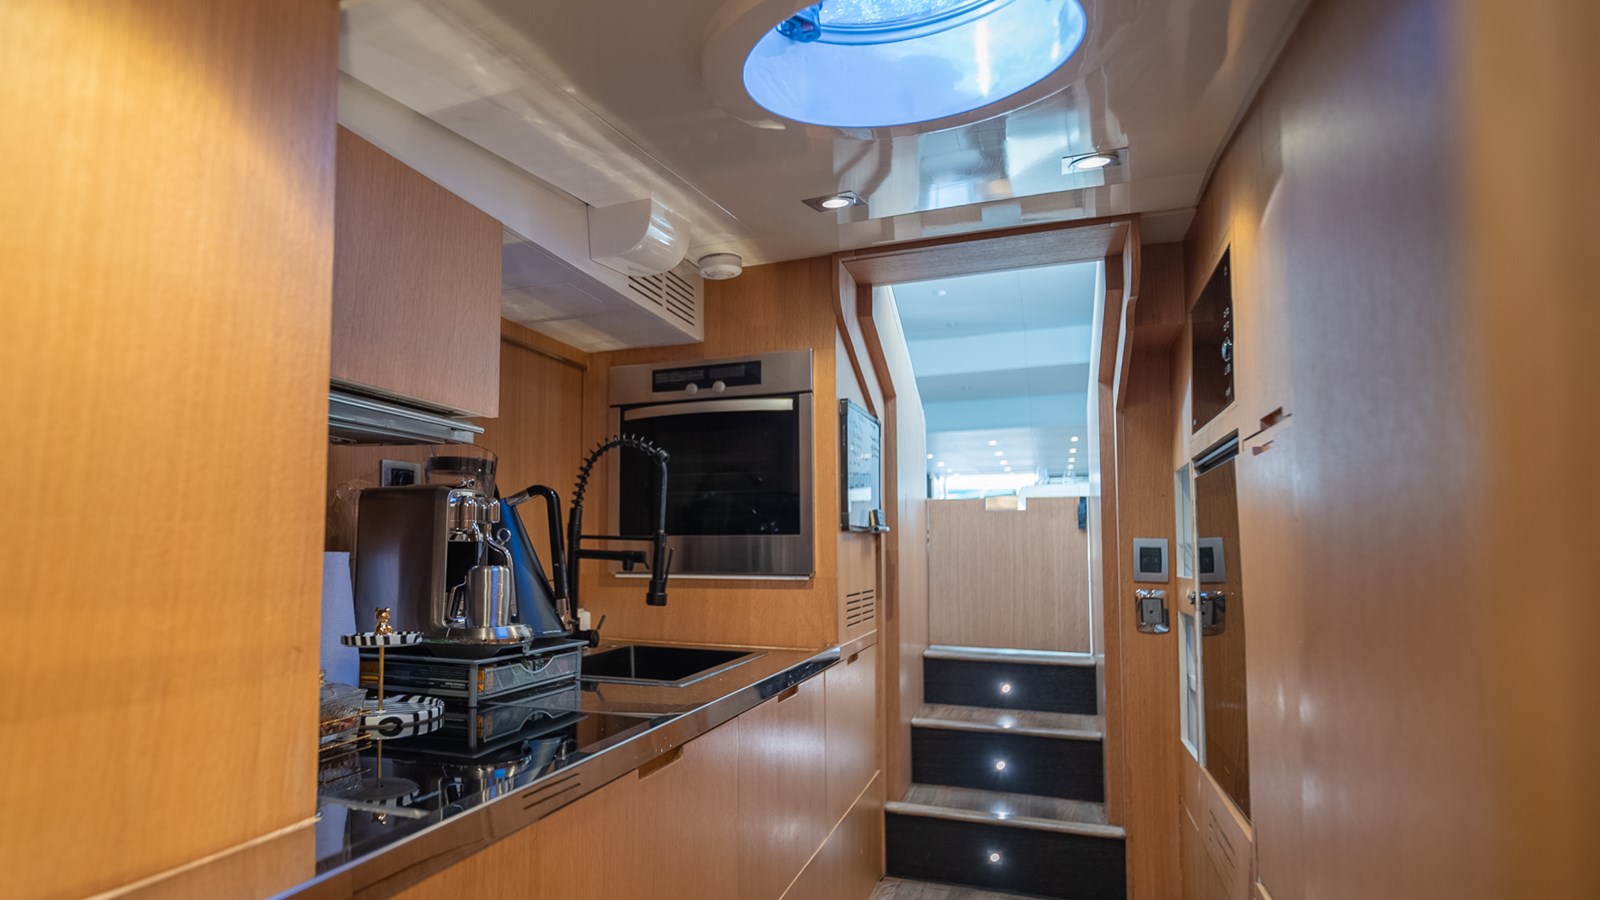
Galley Modification:-
- Sink modification to accommodate cutting / preparation area
- Remove the old 2 sink washbasin and disconnect pipelines.
- Procure new stainless steel single sink washbasin (Matt Black color) and install
- Install solid teak wood between electric hot plate and washbasin as chopping/ preparation area
- Remove the drawer under the sink
- Create partition to place the microwave.
- Relocate power supply for the microwave
- Install a smaller drawer under the microwave area.
- remove external drawer surfaces on both sides and reinstall with white OAK veneer pressed on water proof MDF
- Renew the sliding and hinge mechanisms/ fittings with soft touch international brands
Flybridge Bar
- Cut the existing bar counter on the fly bridge to suit new design
- Fabricate new bar counter using marine plywood with FRP coating and. gelcoat as per new design .
- Relocate the ice maker, refrigerator into the new bar.
- Cut marble to size as per template .
- Install the marble counter top on the newly fabricated bar .
- Fabricate 4 nos. Bar stools as per approved design.
- Install the 4 nos. bar stools in location .
Electrical
- Maxpower thruster CT300 Elec duo metallic 24V. Maxpower fuse 400A T2 for thruster.
- Maxpower fuse holder T2.
- Maxpower joystick double black.
- Marine battery 225AH Veetus.
- Battery Charger – Marine , Skylla-TG 24/80(1+1)230V , Input Voltage (V AC)230
- Input Voltage range (V AC)185-264 , lnput Voltage range (V AC)180-400 , Frequency (Hz) 45-65 Charge Voltage :24VDC , Battery Capacity (Ah)400-800 , Battery Bank:2
- Charge current house (First) batt. (A):80A , Charge current starter (Second) batt. (A)4 Weight Kg:10 , Dimensions h X w X d in mm: - 355x250x257
Garage door hydraulic powerpack service. Crane power pack service.
- Hydraulic table & gangway ladder p.p service.
- STEERING SYSTEM P.P SERVICE.
- Oil Service for 2 Yanmar Engine generators.
- Engine Not Starting Complaint on one engine; engine cranking not starting. Fuel Pump and injectors removal for repair to sort engine starting complaint Installation of all parts and completing the engine Servicing including Oil and filters Replacements.
- Handover of Engine in starting Condition.
Swim ladder :-
Fabricate and install new logo for Port and Stbd Side in stainless steel Install steps made of teak wood on the ladder
Make holes to install the swim ladder
LOGO And Name :
- Fabricate and install new logo for Port and Stbd Side in stainless steel
- Fabricate and install new logo on the Aft of the yacht, using Acrylic and Stainless steel with LED lights
- Fabricate and install new Name on the Aft of the yacht, using Acrylic and Stainless steel with LED lights (AICON LOGO and ONYX Name)
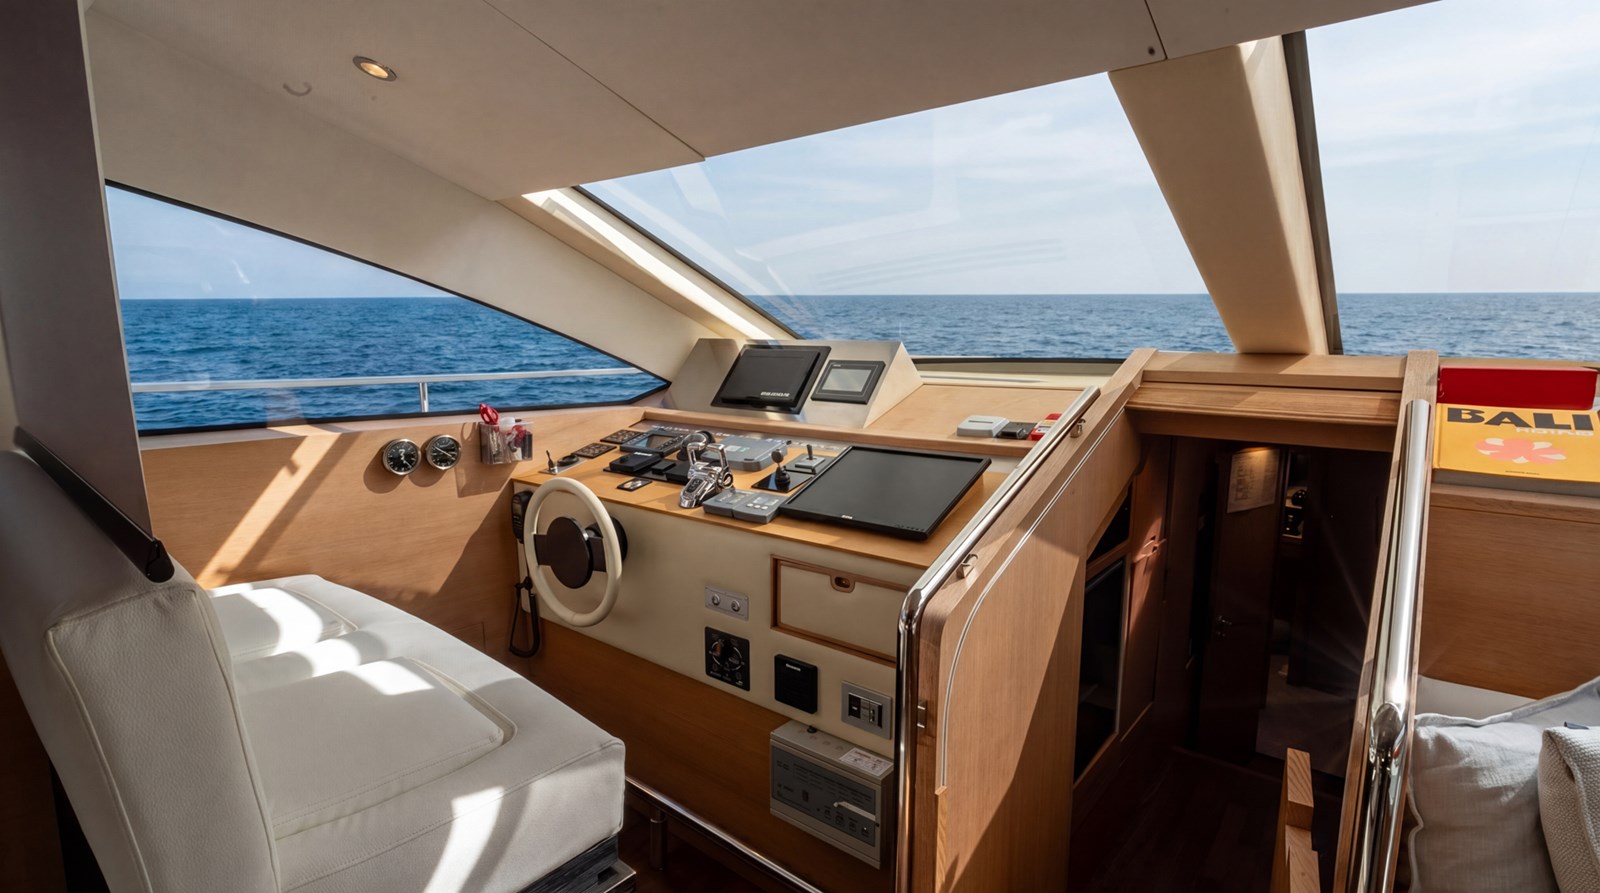
RAY Marine Assistance (Console) :-
- Provide assistance to the RAY Marine technicians
- Disconnect and Remove the existing cables and indicator panels on consoles both salon and fly bridge
- Blank some of the recesses on both the consoles
- make new recesses on both the consoles to
- accommodate new monitors and panels
- Install veneer pressed plywood to enhance the consoles
Emergency door repairing (STBD Salon) :-
- Dismantle the door and carry out filler repairs on the edges of the door To remove chafing edges
- Install pressed Veneer plywood on the inside surface of the door
- Install back the door and fittings and test
- Change all outdoor sockets and switches :-
- Procure and install new IP65 rating outdoor switches and sockets As requested by Captain
Installation of new BBQ :-
Procure new Electric BBQ for Fly bridge bar counter
Cut out the old BBQ and create FRP foundation for new BBQ Install new BBQ and Carry out electrical connection
RADAR Domes and scanner painting :-
- New RAY marine domes and scanner got to workshop
- Carry out sanding and application of primer
- Carryout painting of the new DOME and Scanner in black colour
Misc :-
- Carry out sanding and application of paint the crew room floor
- Fuel Tank leak rectification
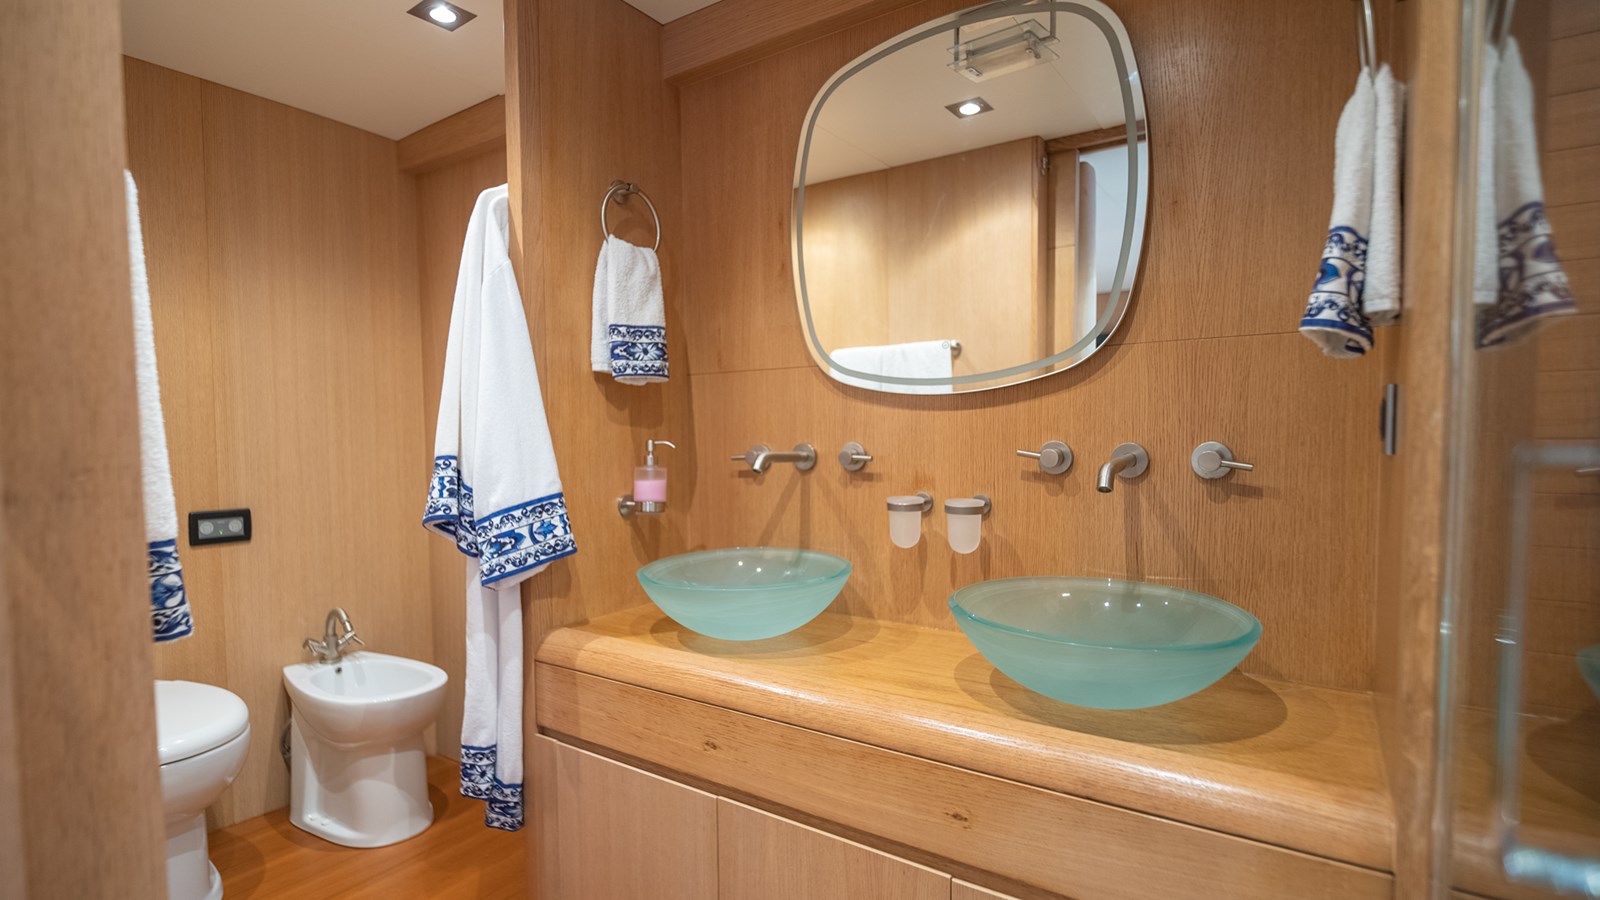
- Remove the old wash basin
- Change the damaged under counter fittings
- Install new owner supplied wash basin on the counter
- Salon bathroom washbasin installaion and renew counter fittings :-
- Remove the old wash basin
- Change the damaged under counter fittings
- Install new owner supplied wash basin on the counter
- Replacement of Sea-Cock Valves & Associated Components replacement, remove, cleaning and painting
- Exsiting valves Remove, Cleaning the valve areas andassociated areas cleaning, and new Valves hose Refixing Labour.
- Electrical & Plumbing works: Toilet fitings replacement: (5 toilets).
- Stern thruster control system using delta plc, joy stick and hmi considering 4 alarms and engine running safety interlock.
- STERN THRUSTER Control Monitor Fixing at Console
- STERN THRUSTER Joystick fixing area Modification
- Earthing connection for engine main strainer and generator strainer
- Replacement of 11⁄2" Valve for Kitchen and Sewer Outlet
- Replacement of SS Union 2 1/2" (2 Nos) for Engine water line
- Replacement of Zinc Anodes: Remove all Zinc anode and fixing
- Supply & Installation of Fresh water and Gray water Tank Sensor & Meter.
- Propglide Application on Shaft & Propeller.
- Stern Thruster Hydrolic Tank Repairing
- Water cooler pump Servicing and replacement of hose
- Heat Exchangers Chemical clening & Pressure Testing
- Testing of fifi Pumps on Test Bench: (by third party
- Fabrication, Supply and Installation of new Insulation mattress for Engine Exhaust pipe.
- Removal of existing plywood and veneer, and installation of new plywood and veneer, including polishing and painting to match the same color.
- P2 Pump remove, Repairing and Refixing